

How to Create a Colorful, Eclectic Gallery Wall
Despite what some might say about gallery walls being passé, I believe gallery walls are here to stay (and so do the editors over at The Spruce.) Gallery walls are a classic design feature and can instantly transform a blank space into a colorful curated gallery showcasing your unique style. Using different-sized frames, art/prints with varying patterns and colors, sculptured, 3-D objects and memorabilia, you can add character, depth and interest to your space. And who doesn’t love a design element that’s unique to just YOU?!
Here’s what you’ll need to get started on your colorful, eclectic gallery wall:
Frames in different sizes and finishes, sourced from various places
Prints/Original Art/Memorabilia/Photos/3-D objects
Measuring tape
Pencil
Brown shipping paper
Painters tape
Scissors
Sticky Tack
Level
Hammer
Hanging hardware
Ladder

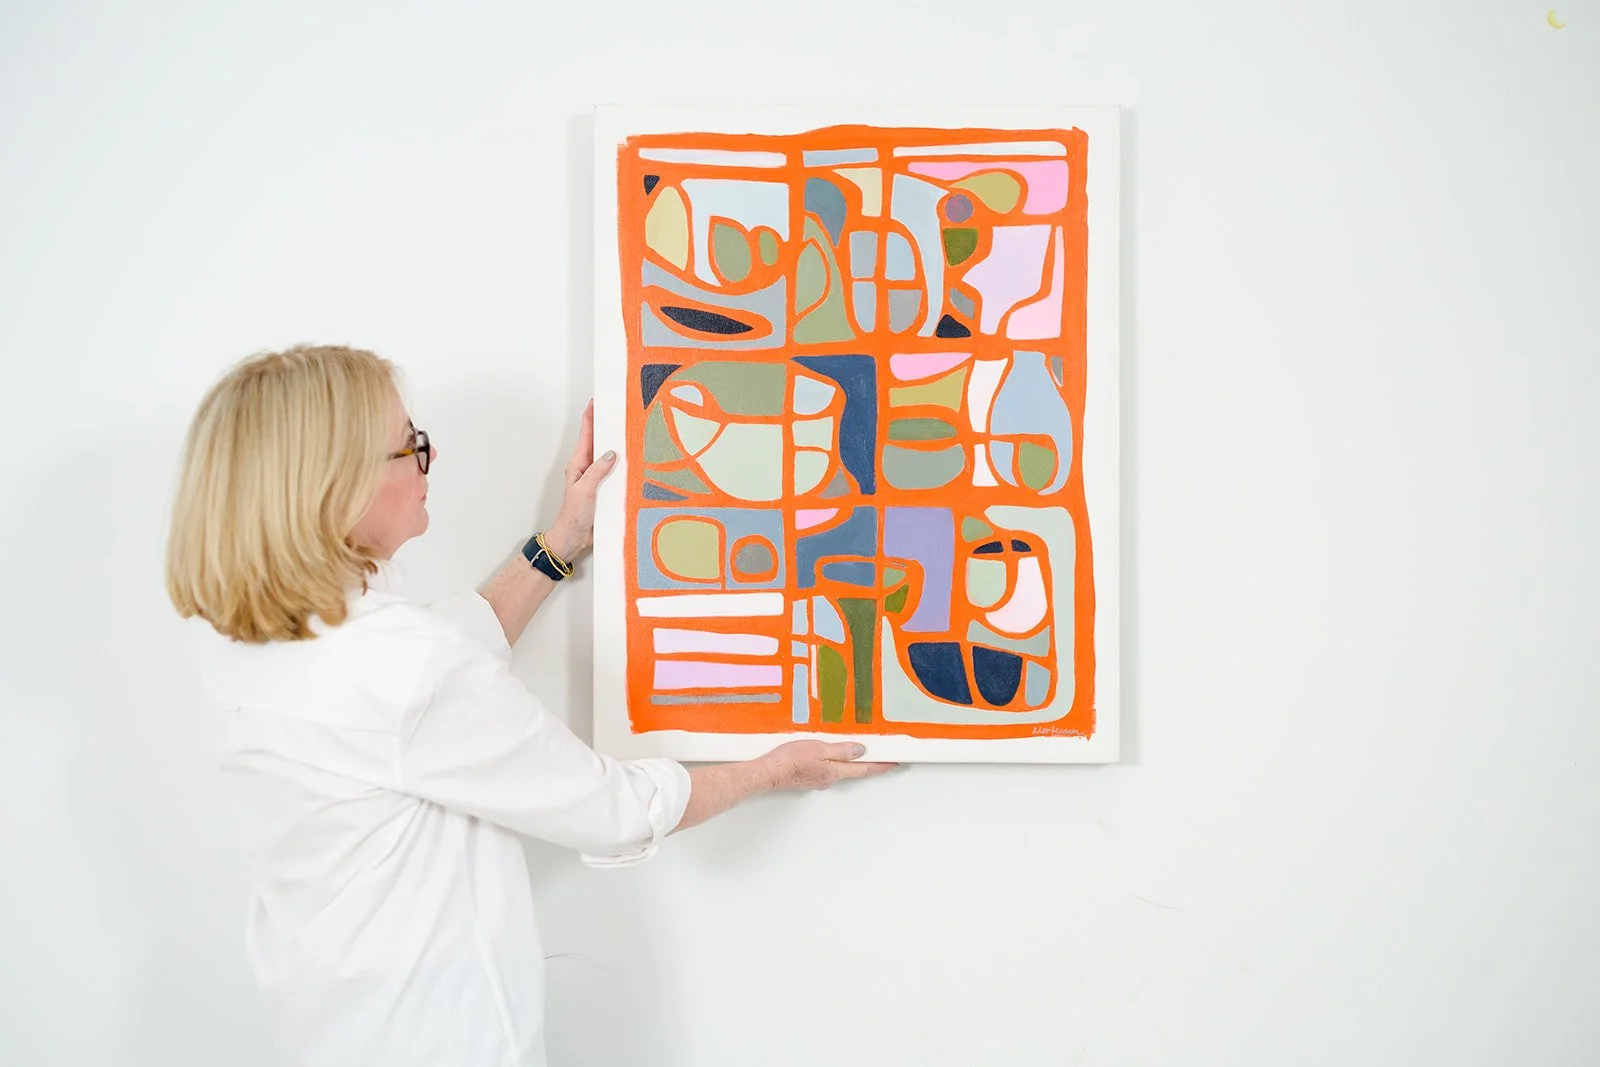
Gathering up supplies for creating a gallery wall. Missing: my ladder!
First Things First:
It sounds obvious, but if you need/want to paint your wall/room, now is the time to do it! I decided to paint my powder room Farrow & Ball Hague Blue for a moody, enveloping feel (and I figured by using that room, I’d have a captive audience for viewing!). Next, choose your wall (or walls), then measure top to bottom and side to side so you can begin to visualize how many pieces of art you’ll need.
Harmonize Your Colors:
Next, decide on which colors you’d like featured on your gallery wall. Do you want a riot of different colors or a limited palette? Either option is fine, but consider pulling a common color through so your collection feels coordinated and harmonized.
Collect and Curate!
I’ve collected many pieces of art from various eras and places in my life (and created some myself). I wanted to share some of the fun, meaningful pieces I’ve gathered that convey my personality. Flea Market finds (the vintage ceramic Buddha below) and art from antique shops in travel destinations are extra special pieces I love to share. I found the shelf the Buddha sits on in the bargain bin at a discount home decor store for $5! Enjoy the hunt-it’s half the fun!
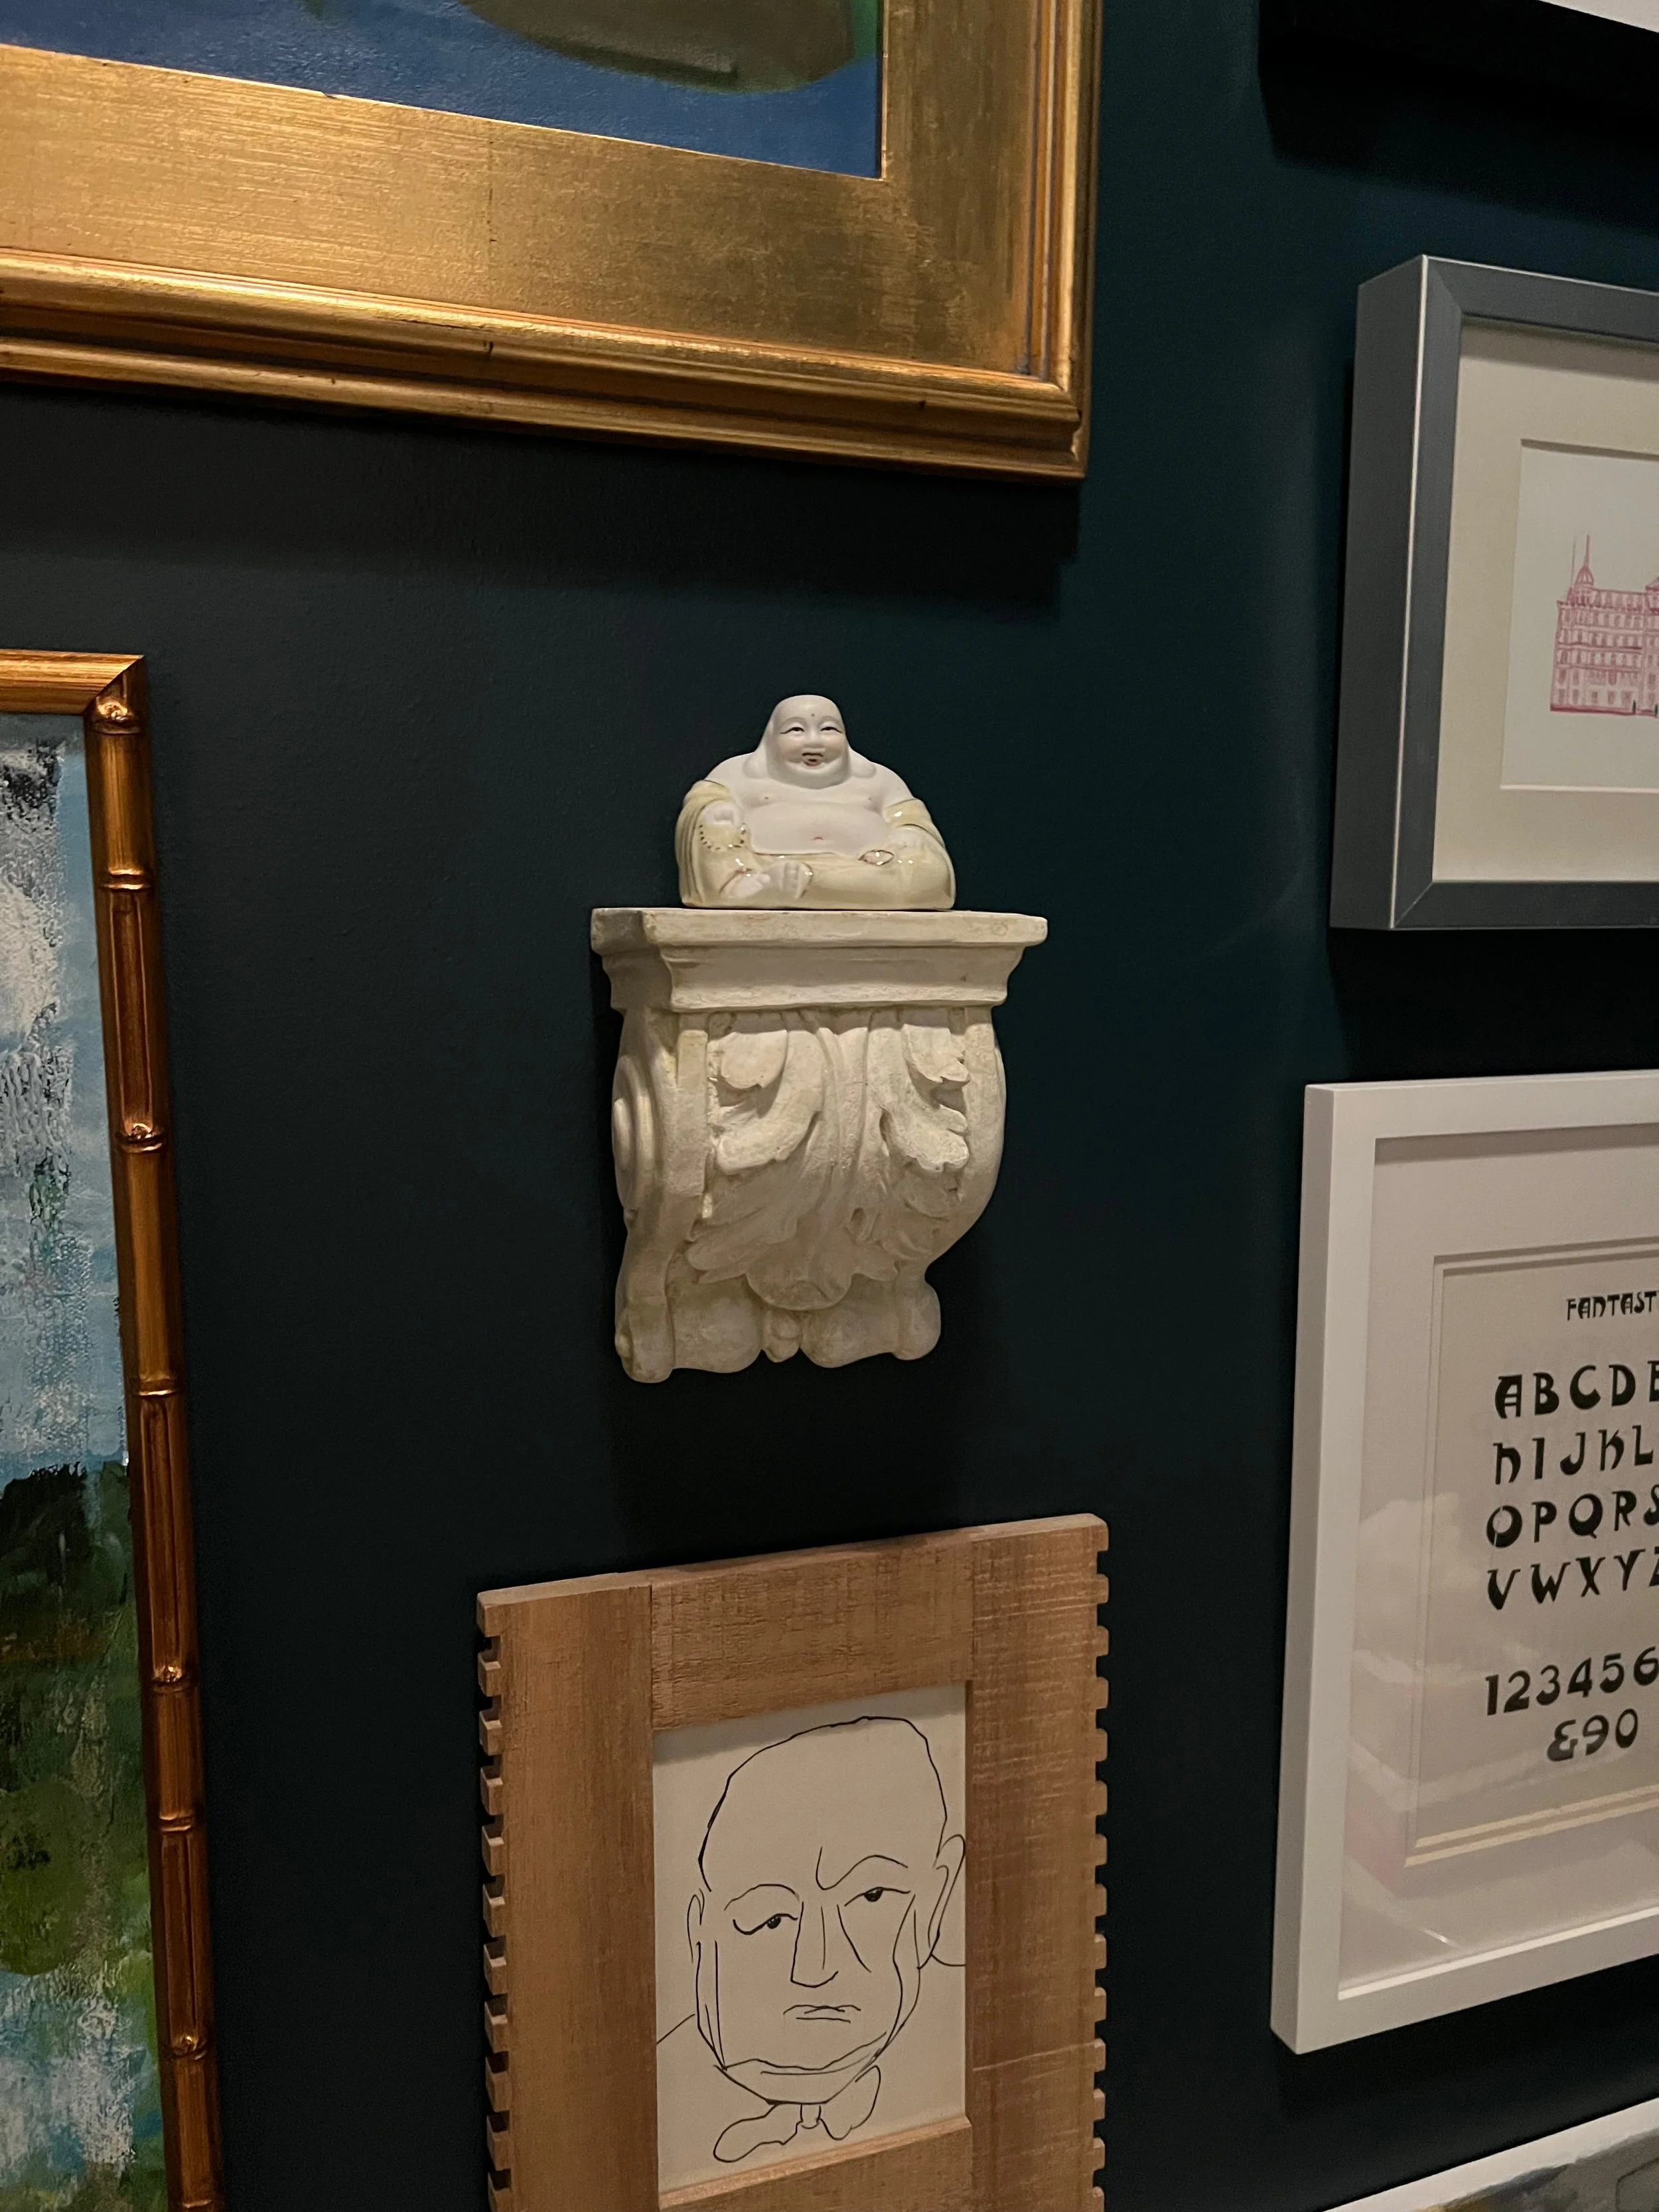
Buddha: Flea market find; Shelf: Discount home decor store find!
Shop Frames:
Next, if you don’t have frames or art just yet, check out Facebook Marketplace, vintage stores or Goodwill and purchase an assortment of interesting frames in a variety of sizes. I love vintage gold frames, but you can always buy wood frames and paint whatever color you like to match your gallery aesthetic. Also, IKEA, Michaels, Target and even CVS have nice frames. You don’t have to break the bank to make your gallery wall look curated and expensive. As you can see below, I like a mix of black, gold, white and silver frames to shake things up a bit!
Love Your Layout:
Next, lay out a potential design on the floor and move your pieces until the layout feels right. If you prefer to do this layout digitally, you can screenshot your frames and drop the images into Canva, then arrange them until you’ve got a configuration you like. Hint: keep 2-3” between frames to avoid dead space on your walls.
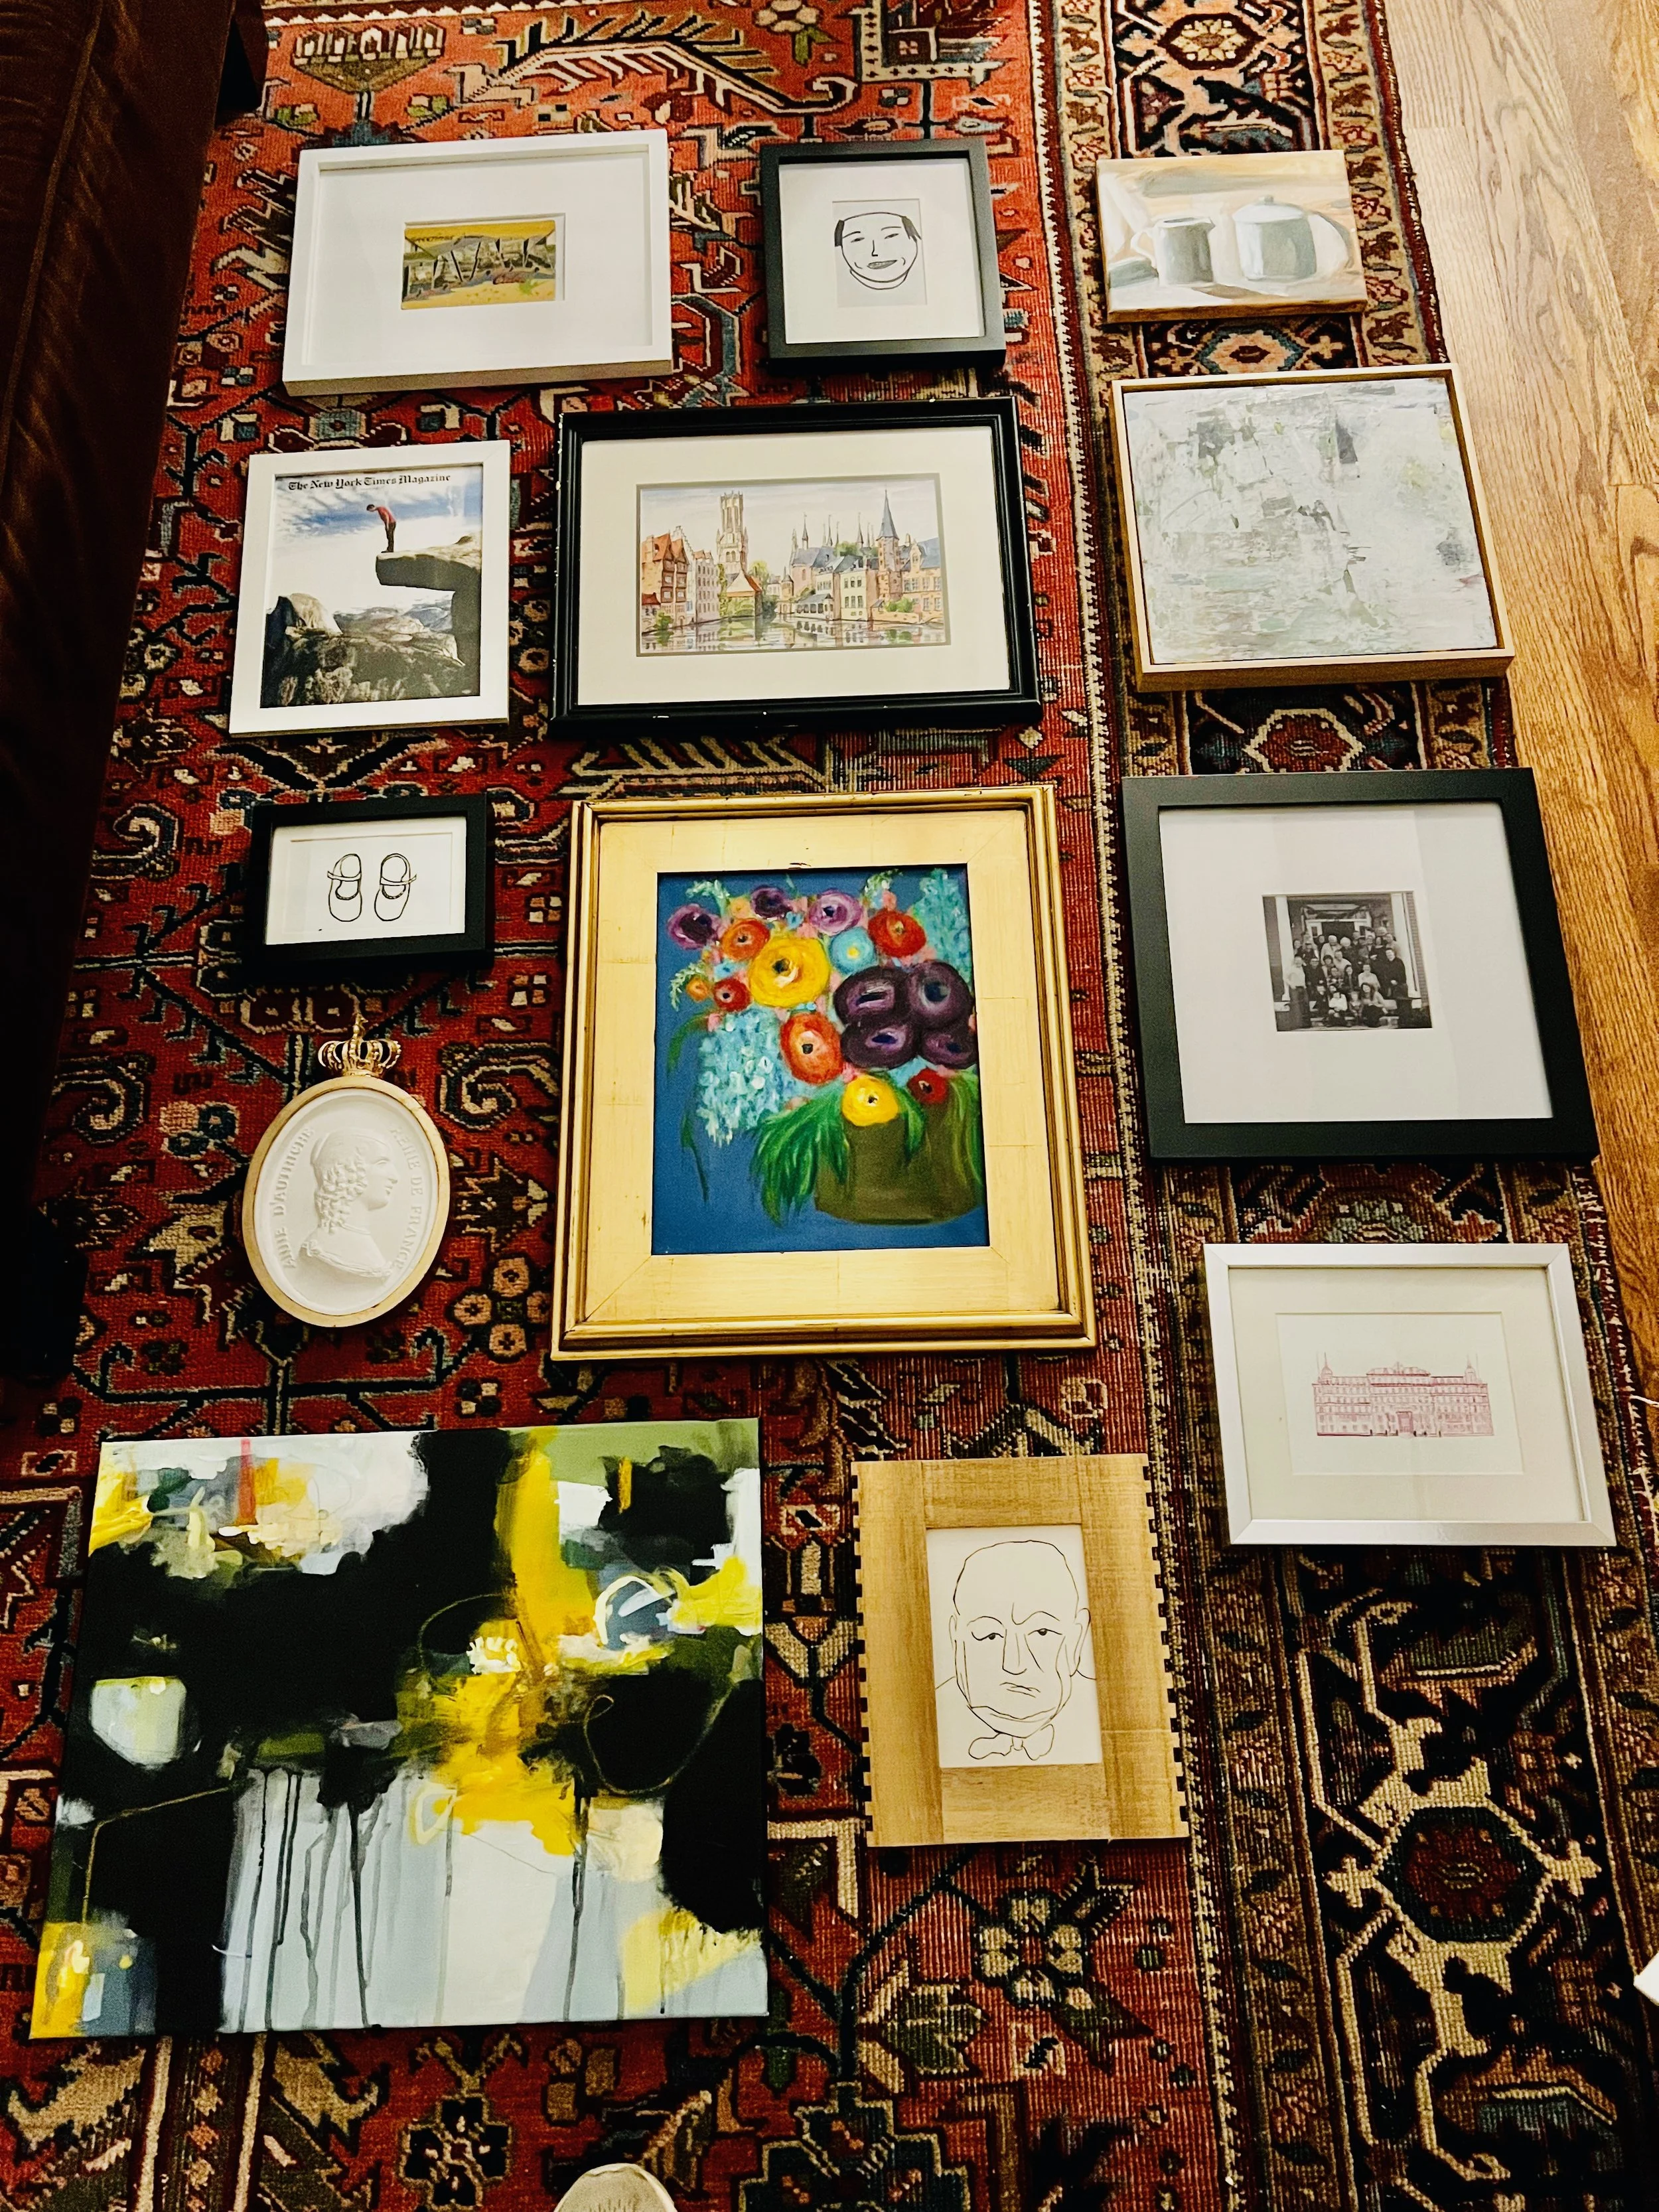
Not the way the gallery wall ended up’-but this was the original configuration.
Print Yourself Some Pretties
Next, for any empty frames that need prints, hop on over to Etsy or search online for free downloadable prints, print them through an online print shop like VistaPrint, Shutterfly, CVS or ColorInc.com. I also love shopping antique stores and flea markets for vintage prints from old books.
Frame, Paper, Scissors and…

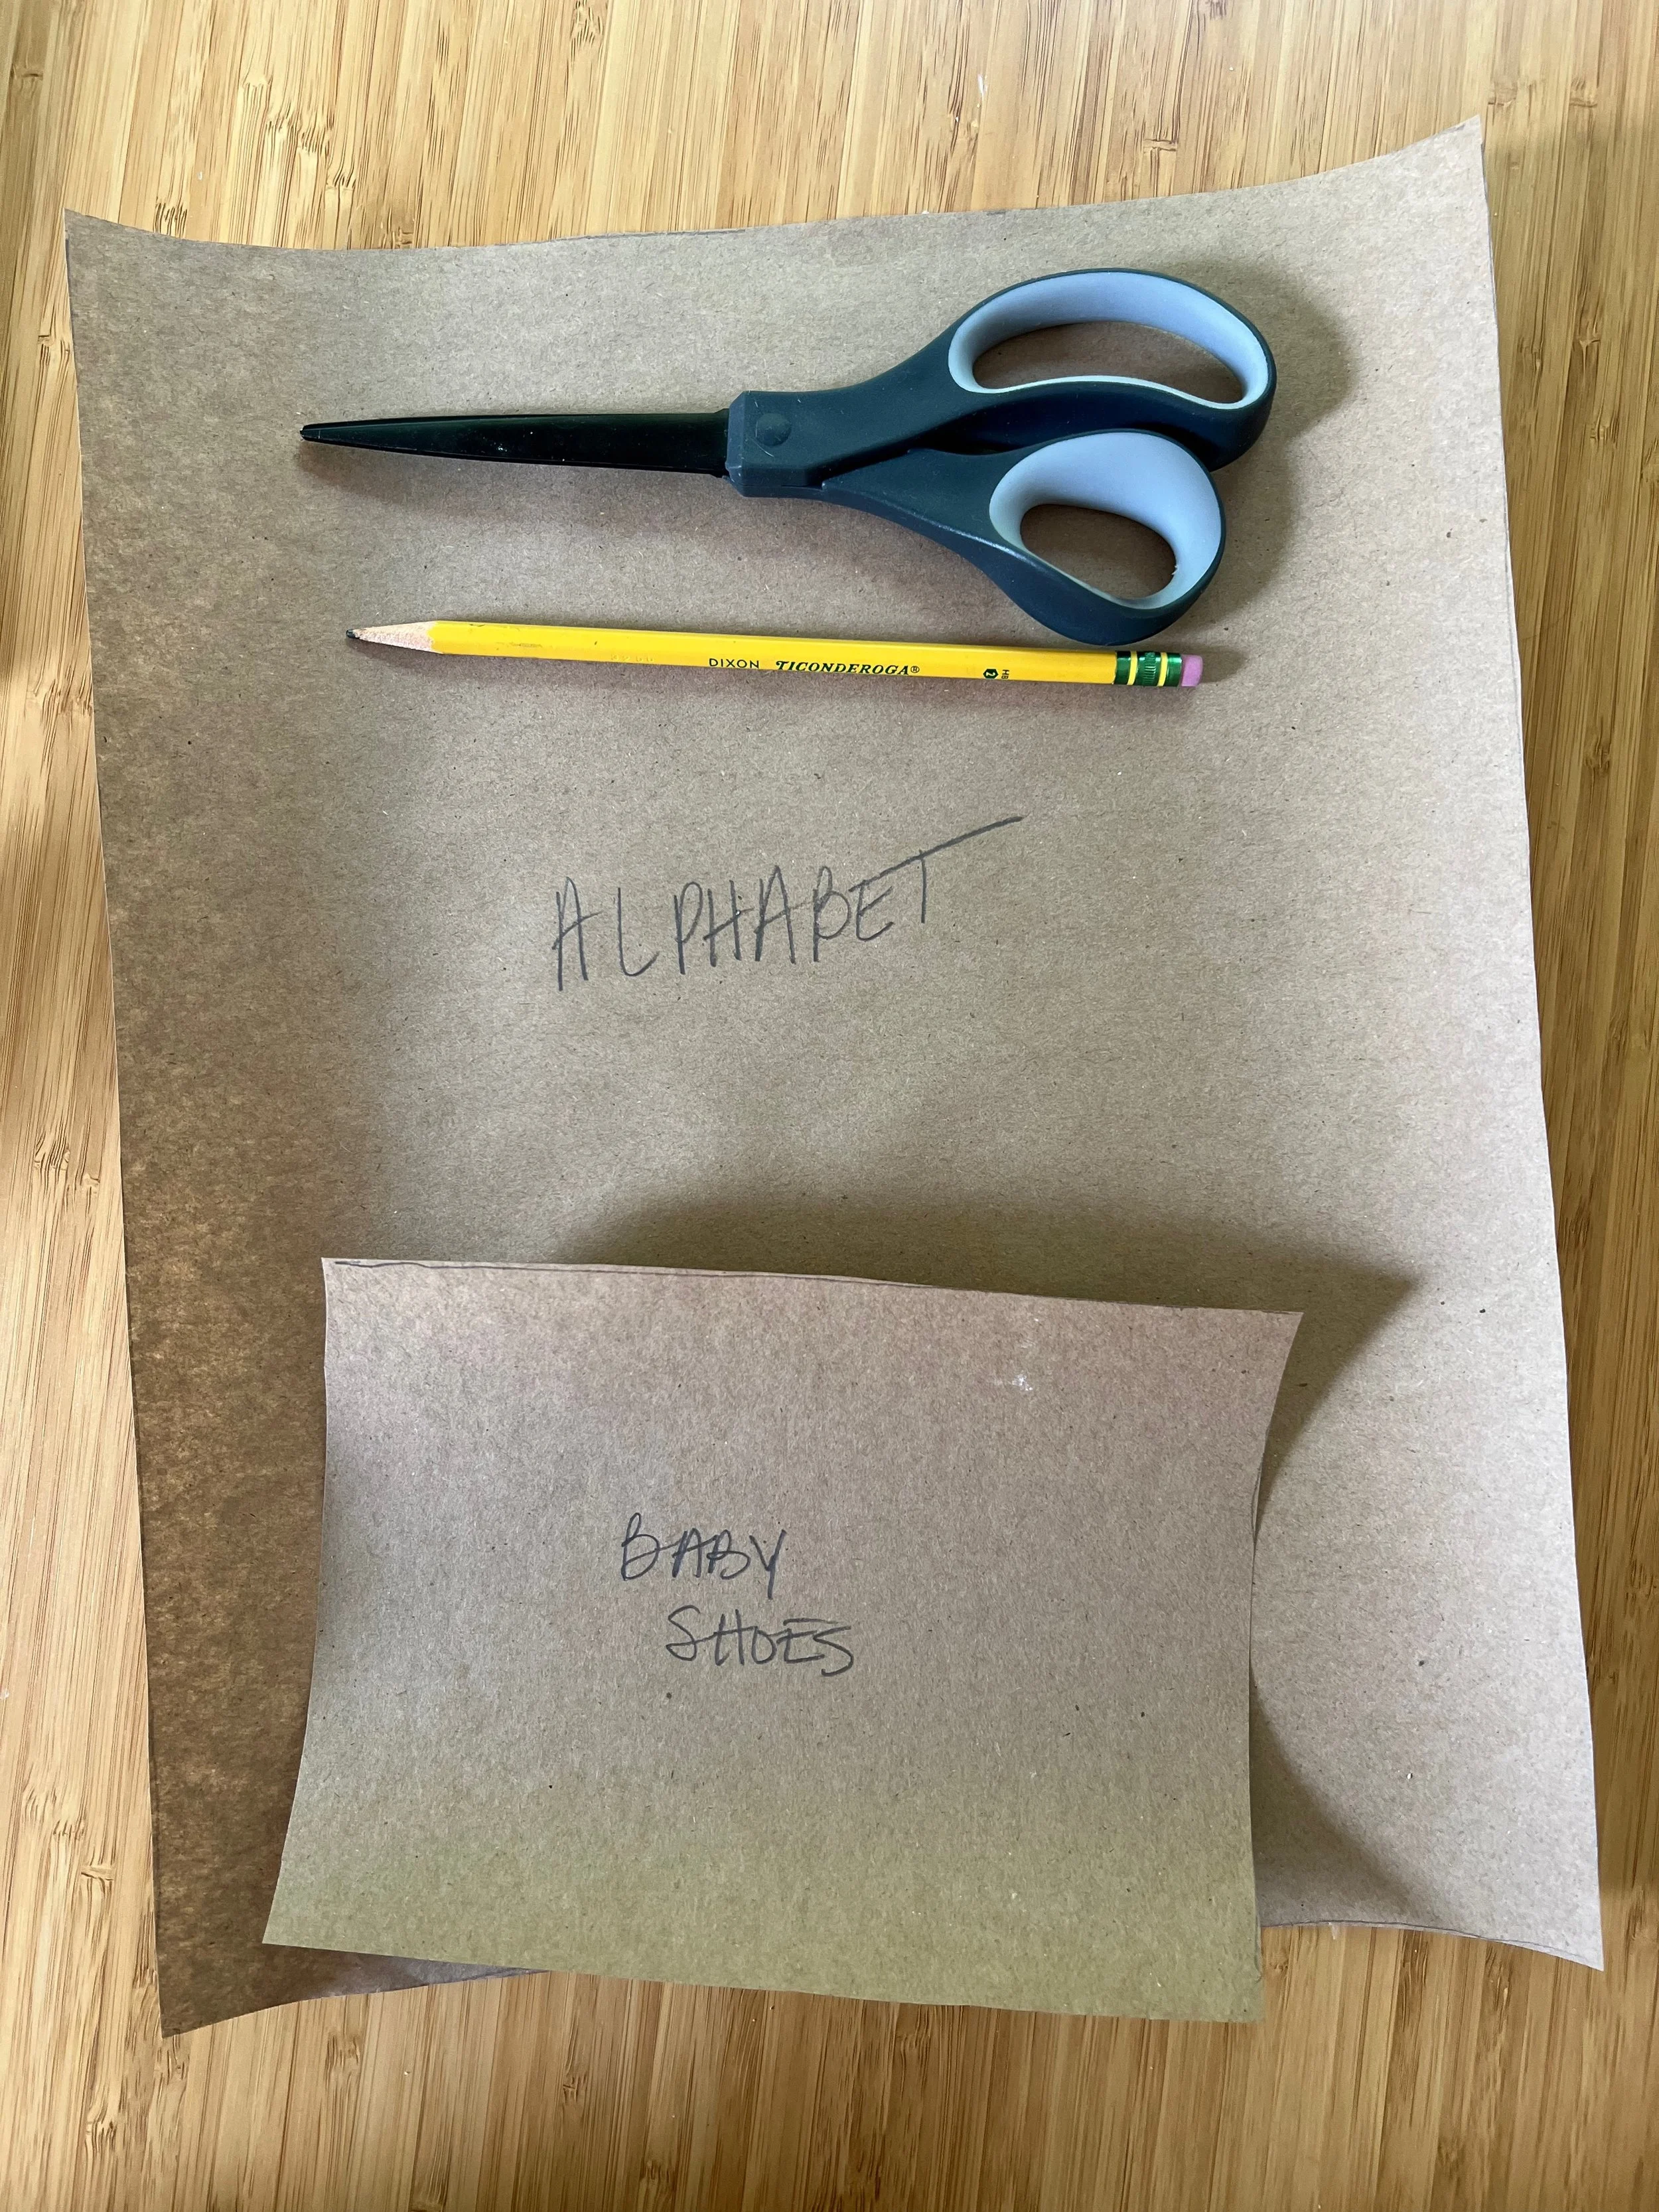
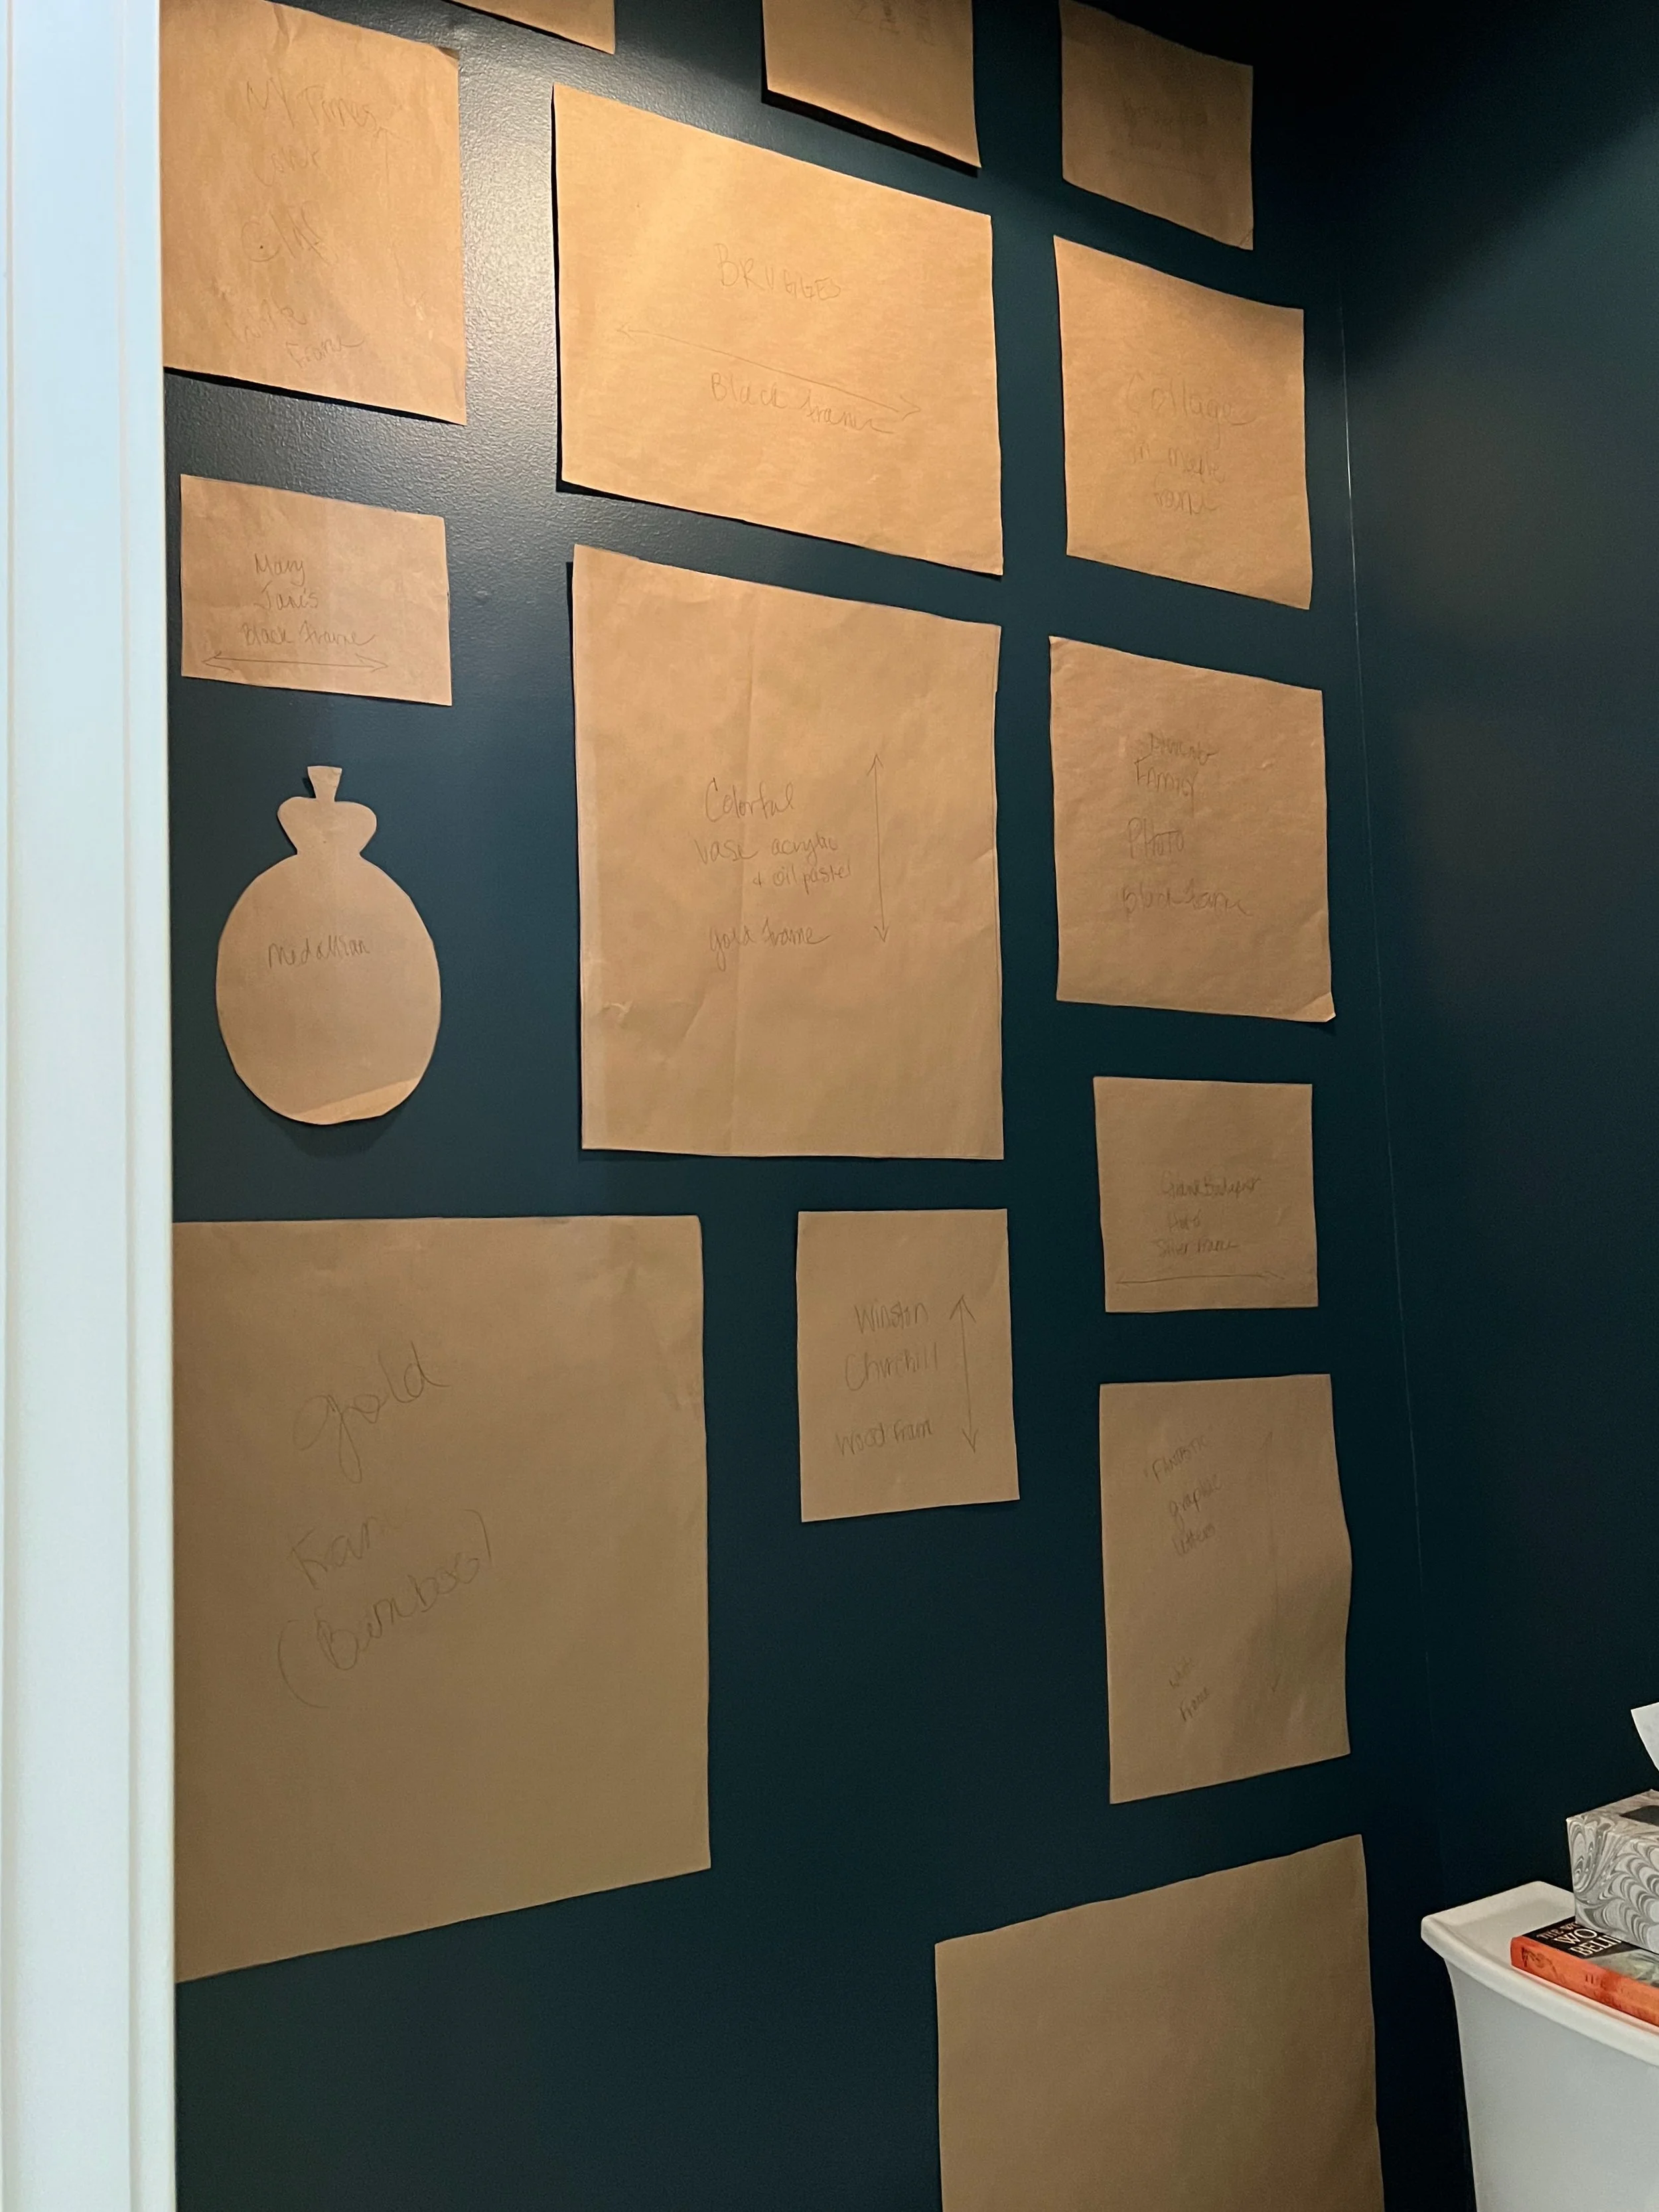
Once you’ve got all your art in frames, create paper templates by tracing the frame outlines on brown shipping paper. Be sure to label them with a description of the piece and it’s correct orientation-landscape or portrait-you’ll thank yourself later, when you’re staring at a pile of brown paper with no idea which piece of art is which and which way to place it! Then cut the templates out and lay them on the floor again to check that you’re happy with the design.
After I’d hung my gallery wall, I read about a great hack: Use painter’s tape on the back of each frame and mark where the hanging hooks are, then place your tape on the corresponding brown paper. This helps take the guesswork out of where to nail!
Get Your Template On
Using sticky tack on the back of the brown templates, arrange these pieces of paper on the wall according to your measurements and layout, remembering to keep 2-3” between each piece.
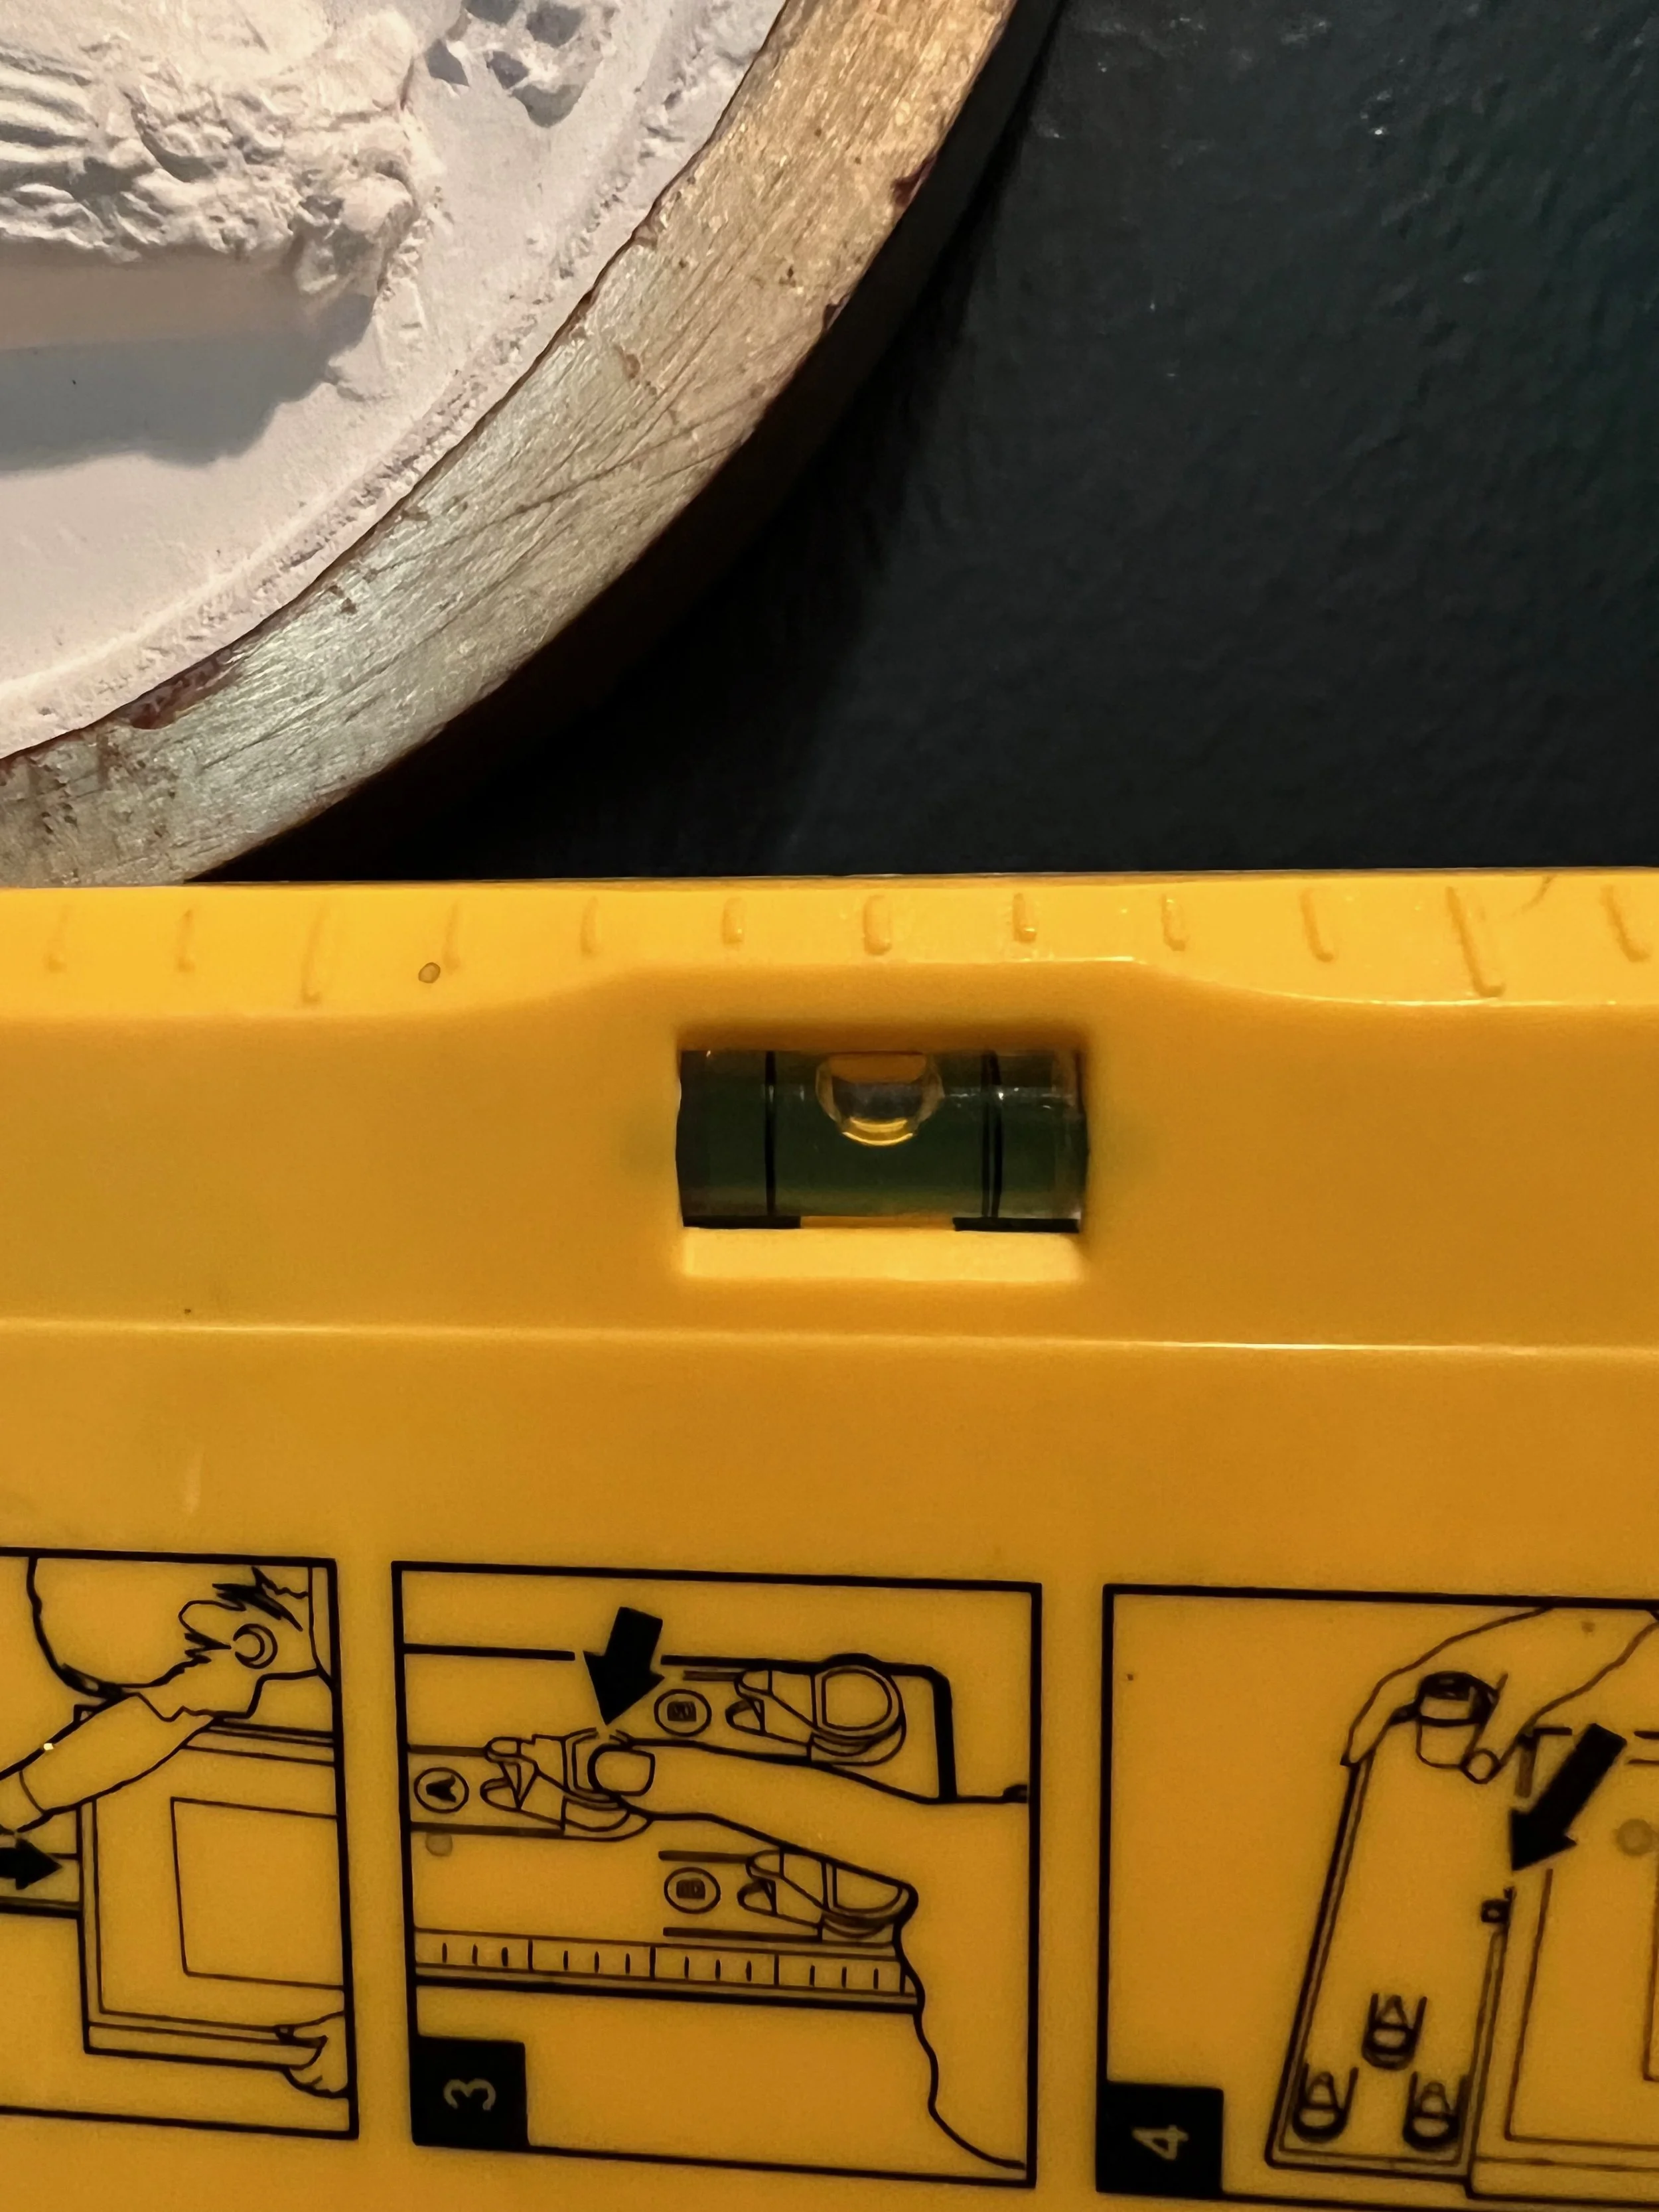
Starting with the biggest piece, use a level and hammer nails into the wall (if you’ve used the tape method, this should be a piece of cake!). Hang each piece to ensure that it’s level, then remove it and move on to the adjacent pieces. Keep checking your levels to ensure that the entire gallery is lined up both vertically and horizontally.
Hang all the pieces back on the wall, gently pull the brown paper from underneath, and level once more. You can use those foam “dots” on the bottom corners of your frames to keep them from shifting.
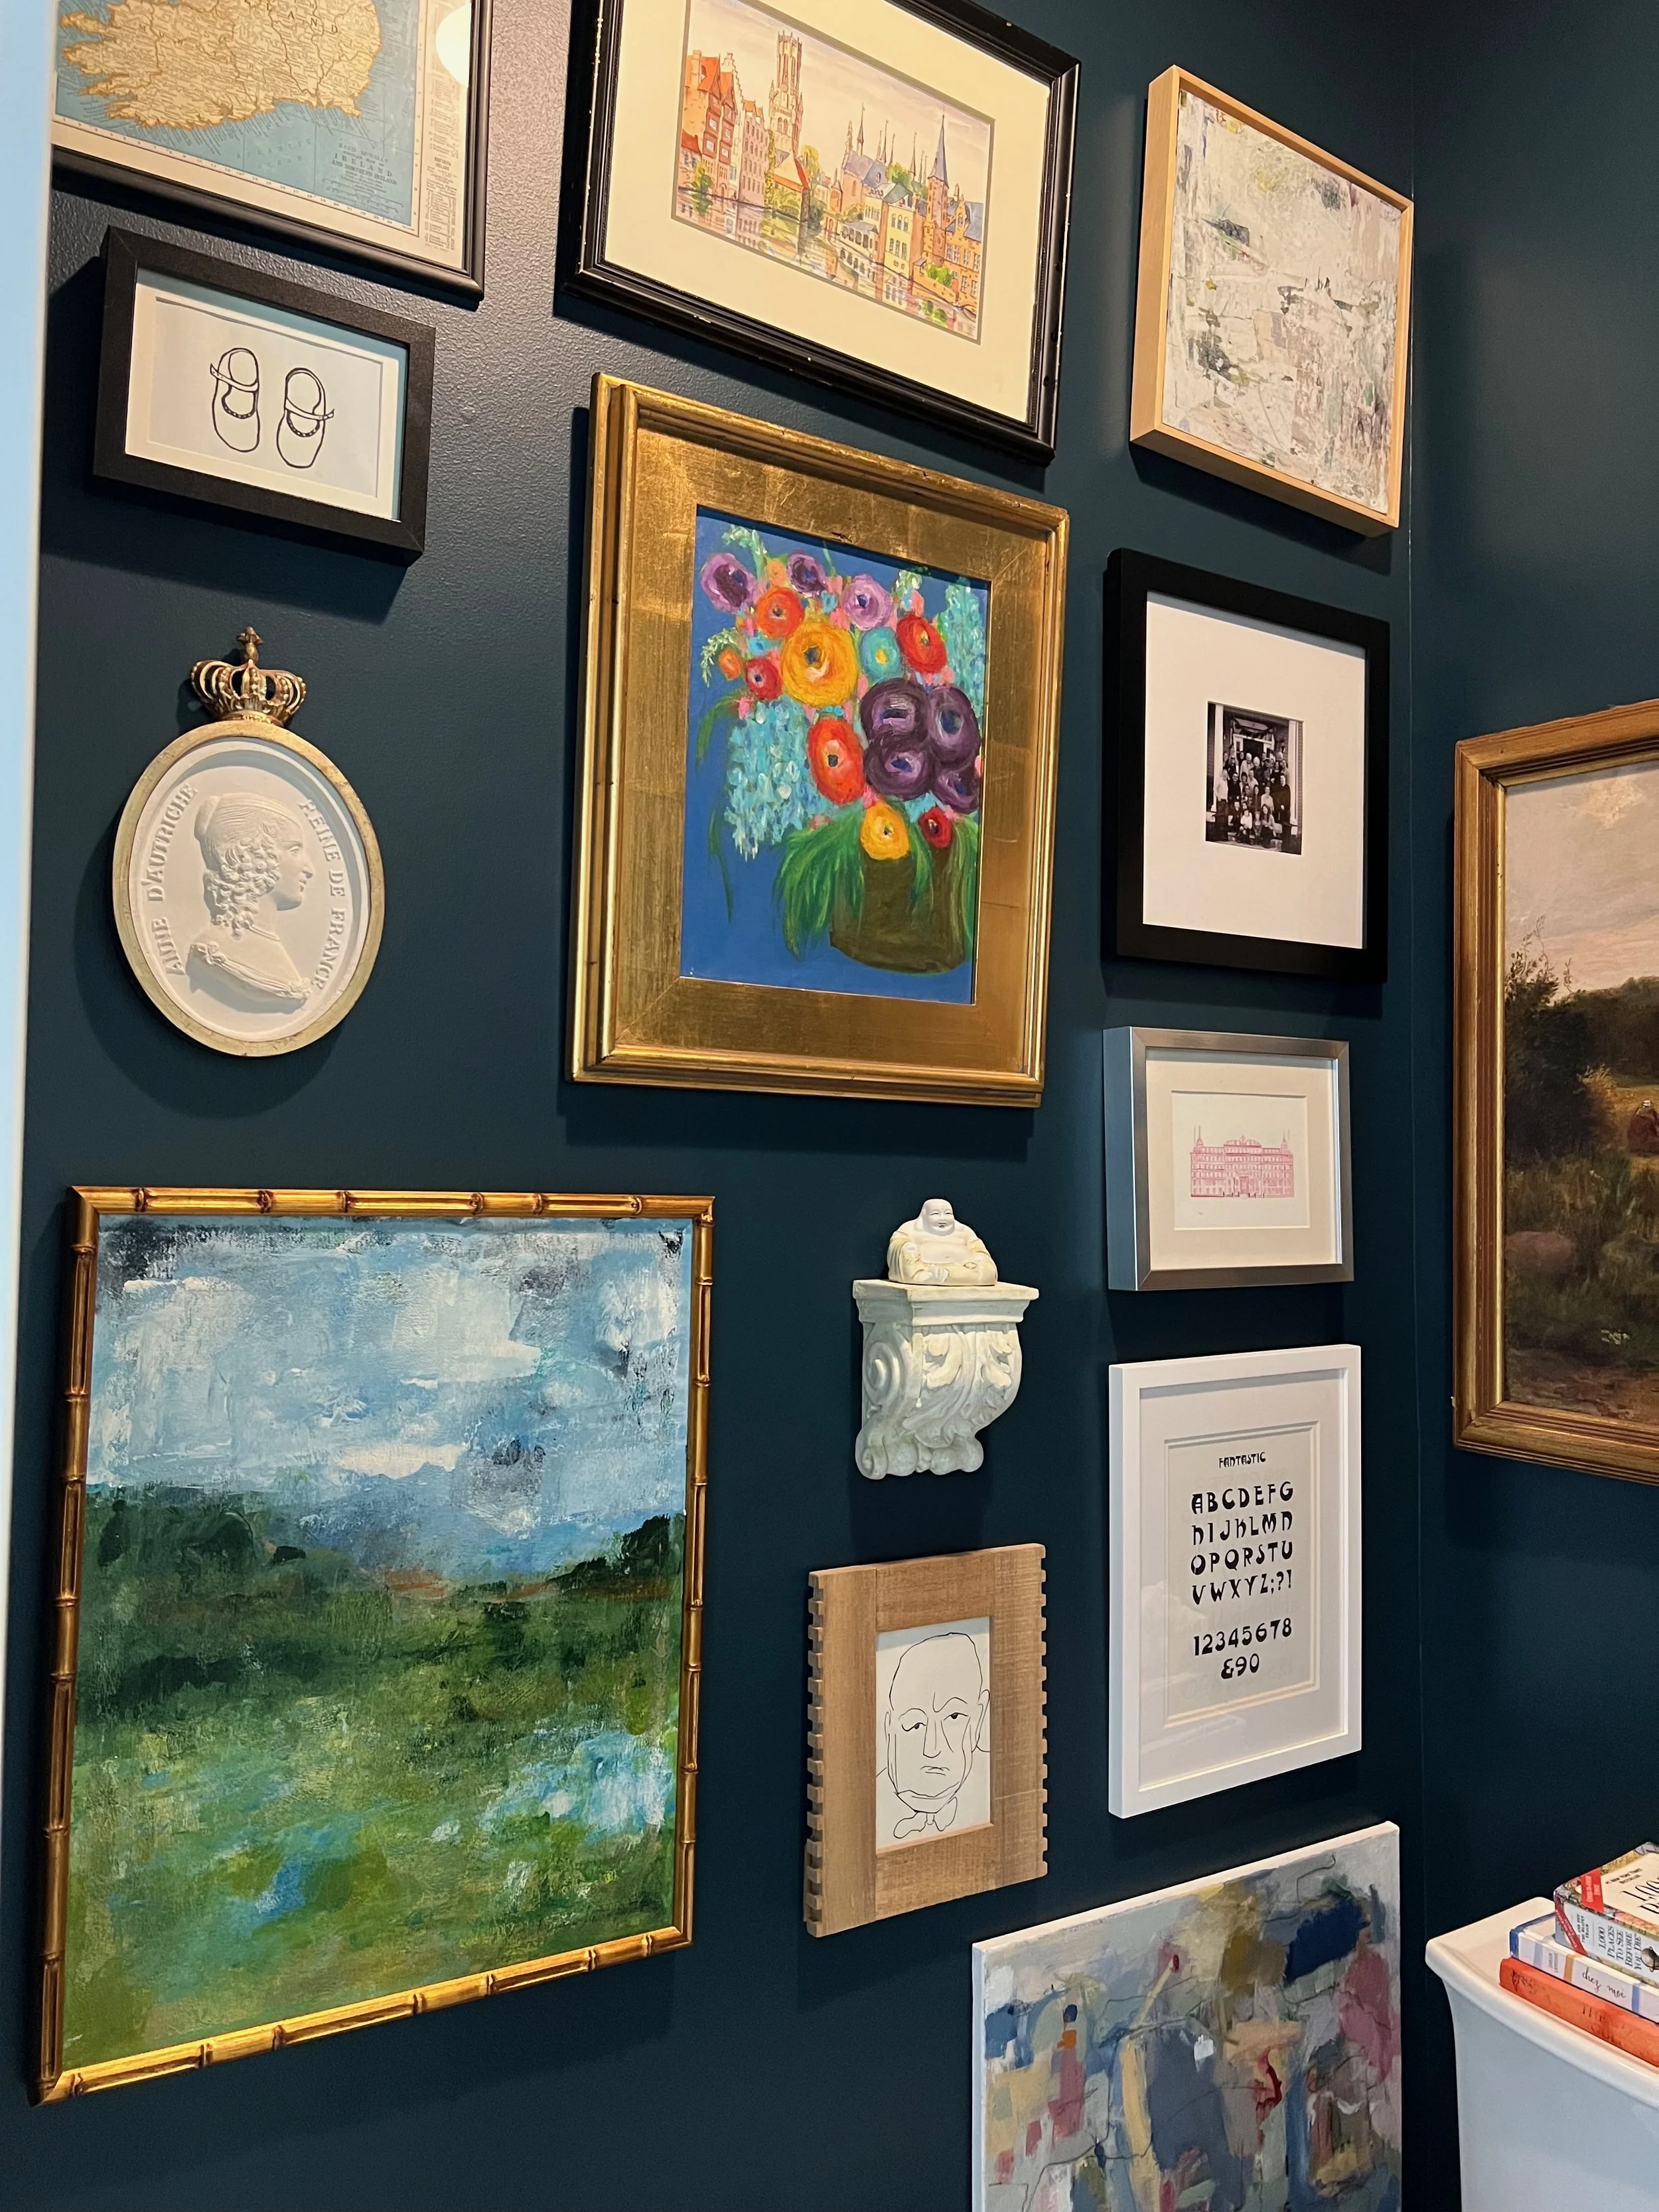
My dark and cozy, colorful and eclectic powder room.
Voila! Now, stand back and admire your work of art!