

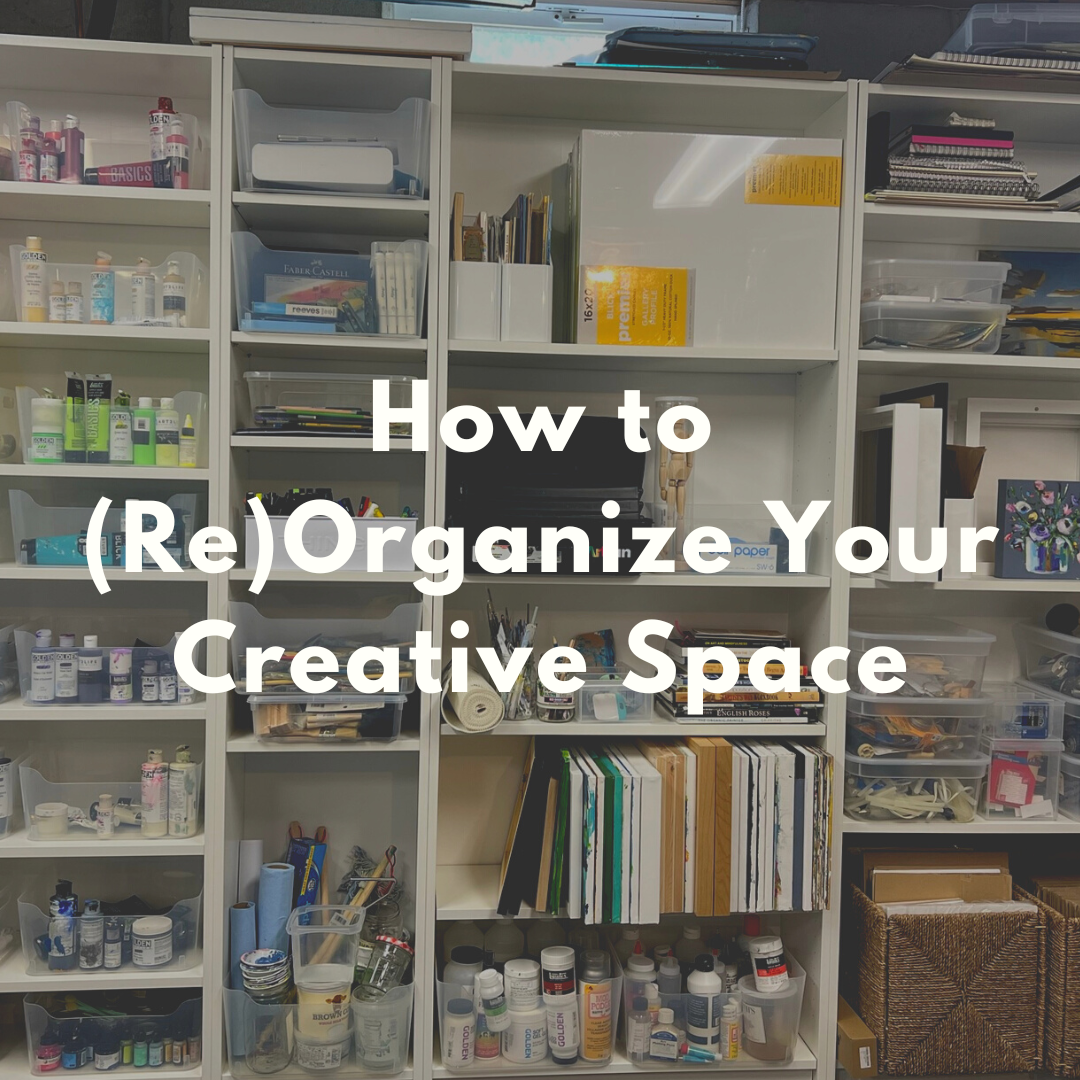
How to (Re)Organize Your Creative Space
After I moved halfway across the country in one day and started a new job the next, I had very little time to set up a new studio. I found myself stuck in a dark, soul-sucking space surrounded by overflowing bins, stacked canvases, piles of paper, and creepy crawly bugs (eeek!!). We had many other more pressing home improvement projects to focus on before I could properly unpack, organize, and set up a studio space, so I just worked around the chaos and crustiness for well over a year. Recently, I began making art full-time and knew the time had finally come to create a new, inspiring and functional workspace. Here, I’ll share some of the highlights of my studio makeover along with tips to help you organize and design your new creative space. Whether you’re a painter, a photographer, a sculptor, a textile artist, or any other creative, these tips can apply to any space where you work.
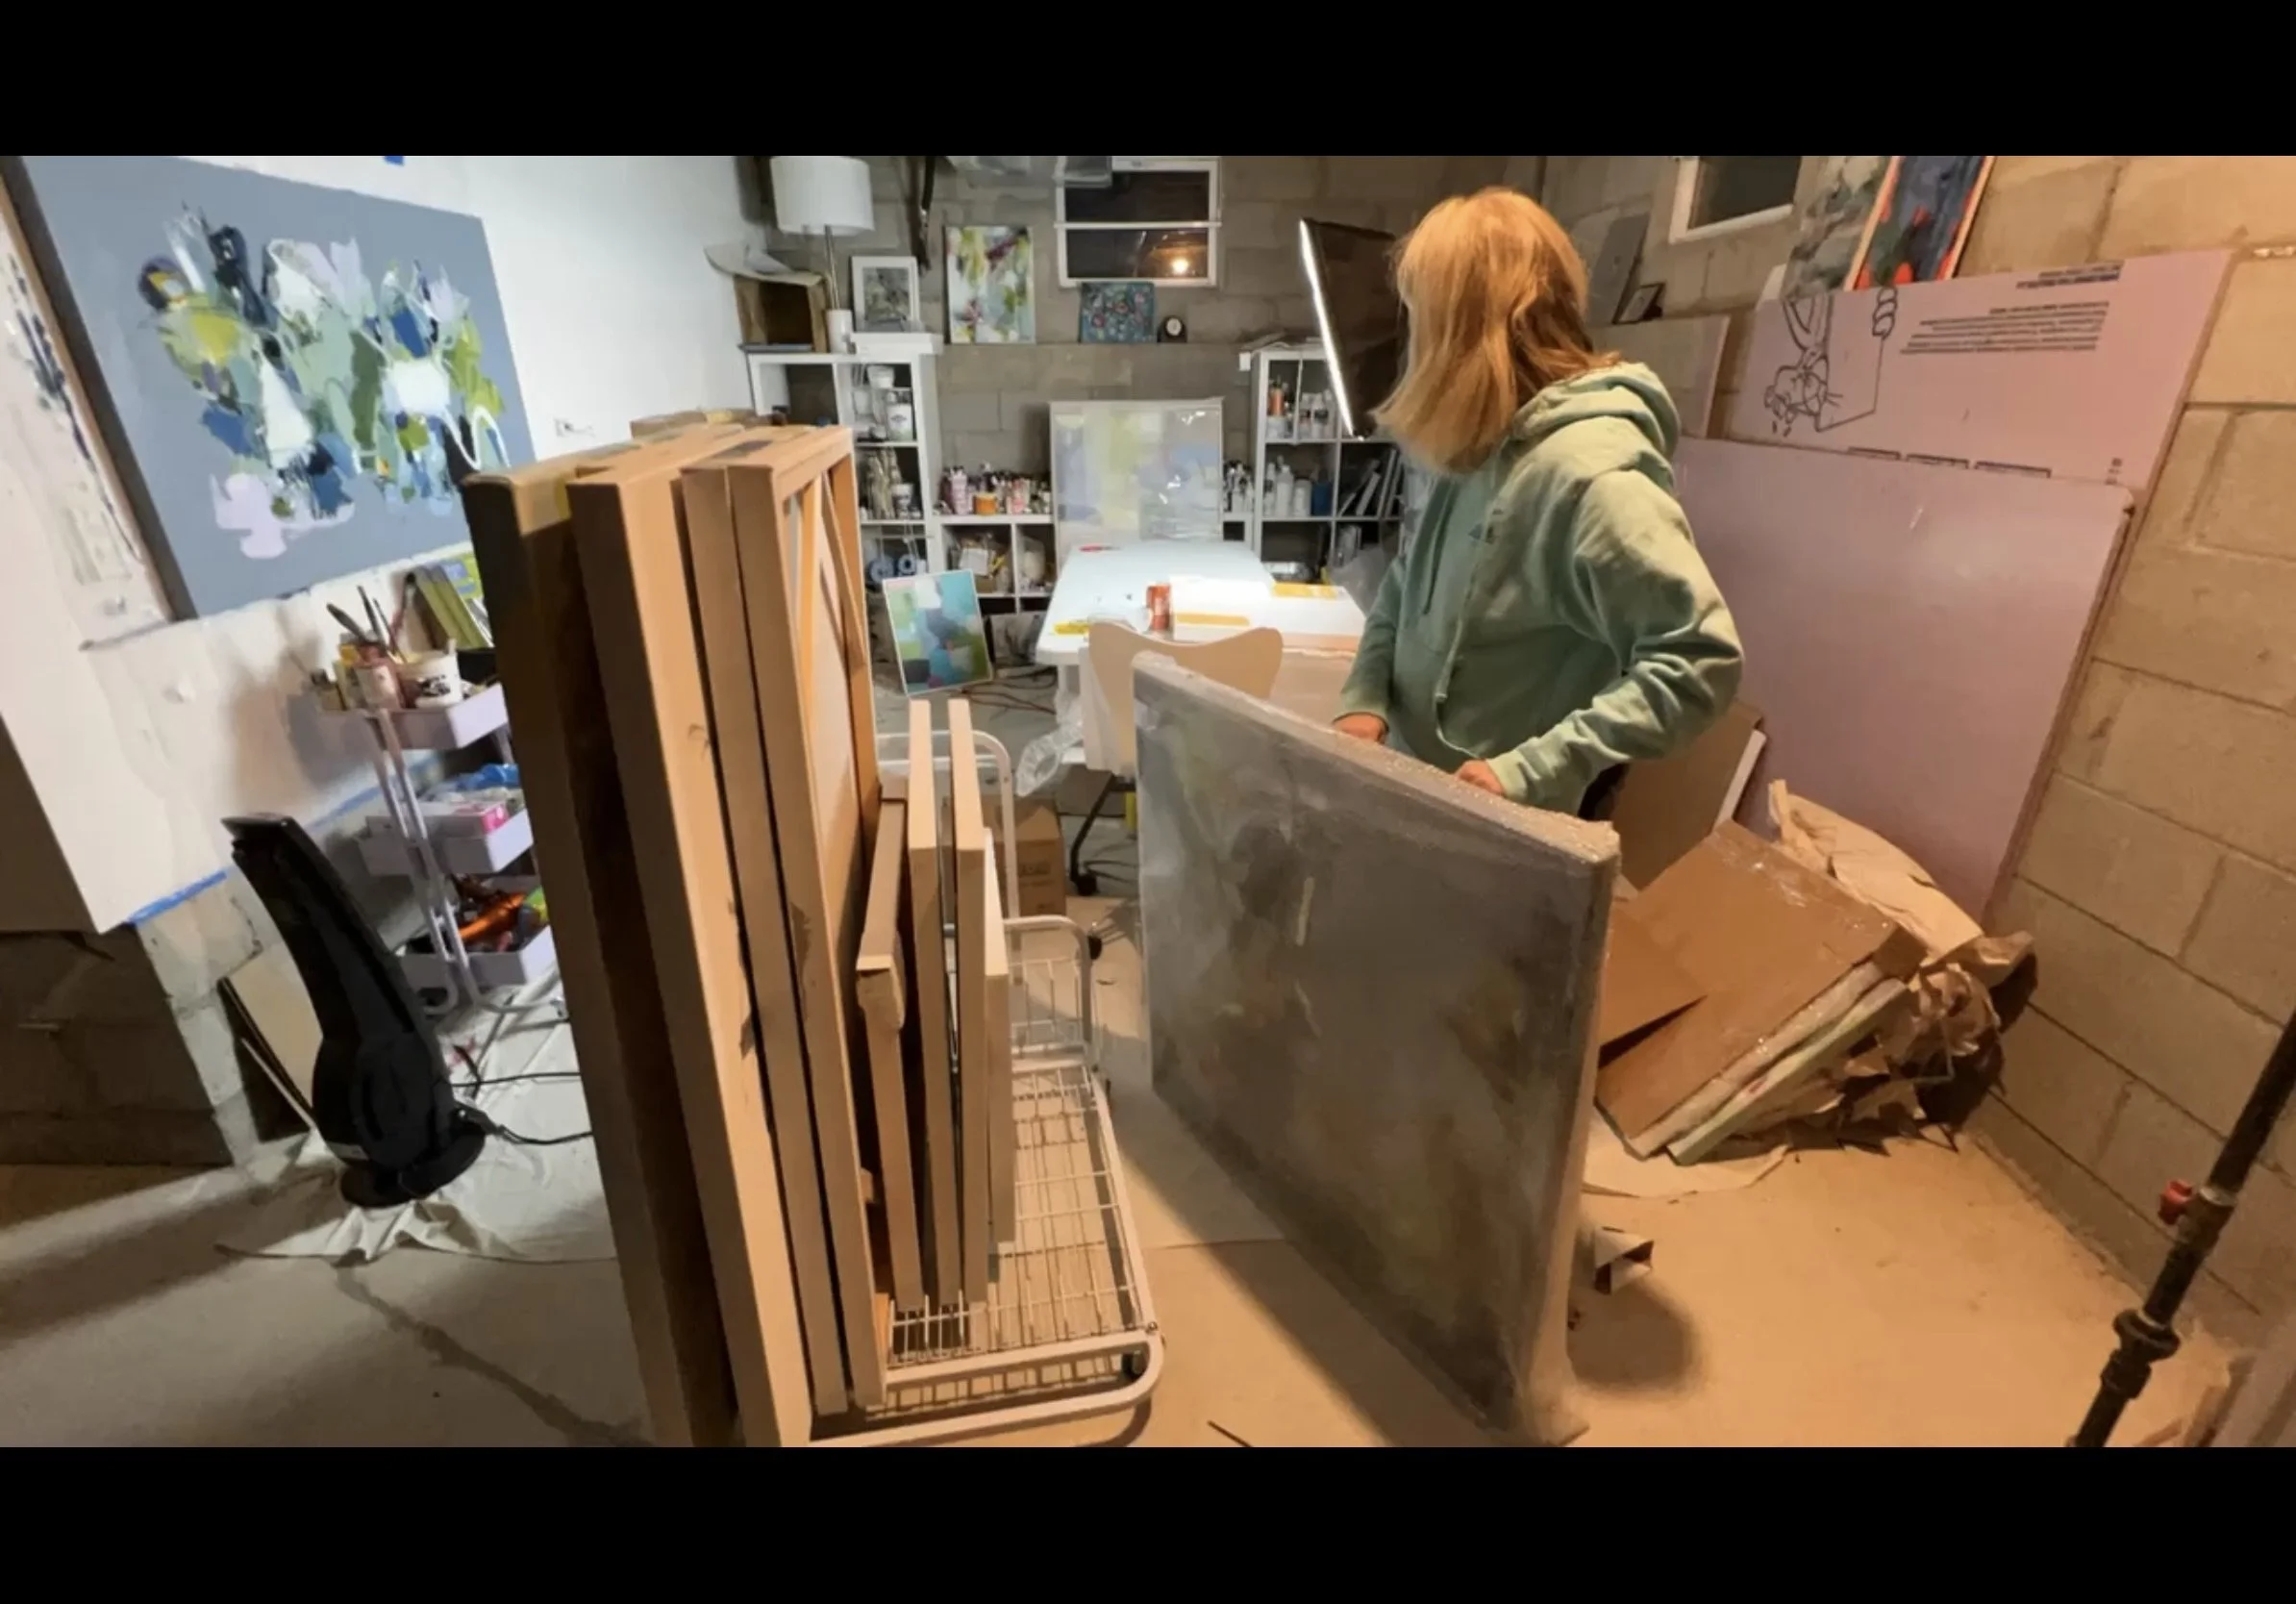
My formerly cold, dark, disorganized studio space
First, assess how you need the space to work for you. I had an 11’x14’ room—I knew every inch would have to count—so I drew a rough floor plan and laid out a potential design. I wrote out my eight key areas of improvement: Lighting, Flooring, Walls, Shelving, Storage, Work Surface, Packing/shipping, and Desk/office. Create your own list of “big-picture” priorities to guide your plan—and adapt to whatever size space you’ll be working in—whether that’s a corner of your kitchen or a large-scale studio. Think about how you need to function within your space and which areas need the most attention. Maybe you need more floorspace and could use some better shelving? Maybe you’re moving into an empty room and don’t even know where to begin? A high priority on my list was furniture on wheels because I like to work on large canvases and need floorspace and moveable furniture allows greater flexibility for my large-scale canvases. Also, for cleaning, I can pull furniture away from the wall to vacuum. Your space and your priorities will be totally different than mine but hopefully, with these tips and some good planning, you’ll end up with a functional, organized work space that will allow you to create more freely and productively.
Next, make a list of your specific goals, research your costs and set up a timeline. Assess your specific goals, shop for products, create a budget, and set up a workable timeline. I used the Trello app (an easy-to-use project management app) to manage the project, as it required so many different moving parts (but a spreadsheet or a pencil and paper will do just fine). I’m a scrap notes-taker and am constantly losing them, so I loved that Trello kept everything in one nice, neat, notepaper-free place for me. My task timeline had links to products to be purchased and tasks to be completed so that I could check off when they were purchased/completed. I also added prices for each item so I could keep track of the costs. My timeline was short, as I knew I needed to get in my space quickly to start creating, but your timeline could be longer.

Trello is a fabulous tool for managing projects-I loved using it for my studio makeover.
Here are some tasks that I included on my list to help you brainstorm yours:
Hire an electrician to install new lighting
Purchase rubber tile floor mats
Purchase shelving
Purchase clear storage bins for shelves
Purchase a movable desk, chair and file system
Find storage for canvases and frames
Build a painting wall
Purchase a movable worktable
Create a space for showcasing art
Set up a space for packing/shipping
Hire an exterminator to address bug issues :0
Empty room and clean top to bottom
Ultimate Goal: A place for everything and everything in its place!
Next, get down to work! For fun, I suggest taking a “before” shot of your room, then empty your space and clean it top to bottom so you’ve got a fresh “canvas” upon which to create your dream studio. Next, start on the structural components of your redesign: Lighting/Electrical, Walls and Floors. You want the foundations of your space to be solid so that it’ll be ready to go when you begin moving things back in. Prepare to roll up your sleeves and get dirty, especially if your project involves moving or building furniture, painting, installing flooring or heavy cleaning.
Emptying my studio (disregard the barbell-it was too heavy for me to move-and shows you how truly disorganized this space was!)
Here’s how my actual project shook out:
Lighting:
My first order of business was scheduling an electrician to install three 4000K florescent lights. What an immediate transformation! Prior to this, the room had one light bulb hanging from the ceiling. I had been supplementing with a stand-up LED photography light, but even that was not enough. I can’t begin to describe what a difference it’s made. My paint colors are truer and I can actually see my work. Definitely a game changer and so worth the investment.
Flooring:
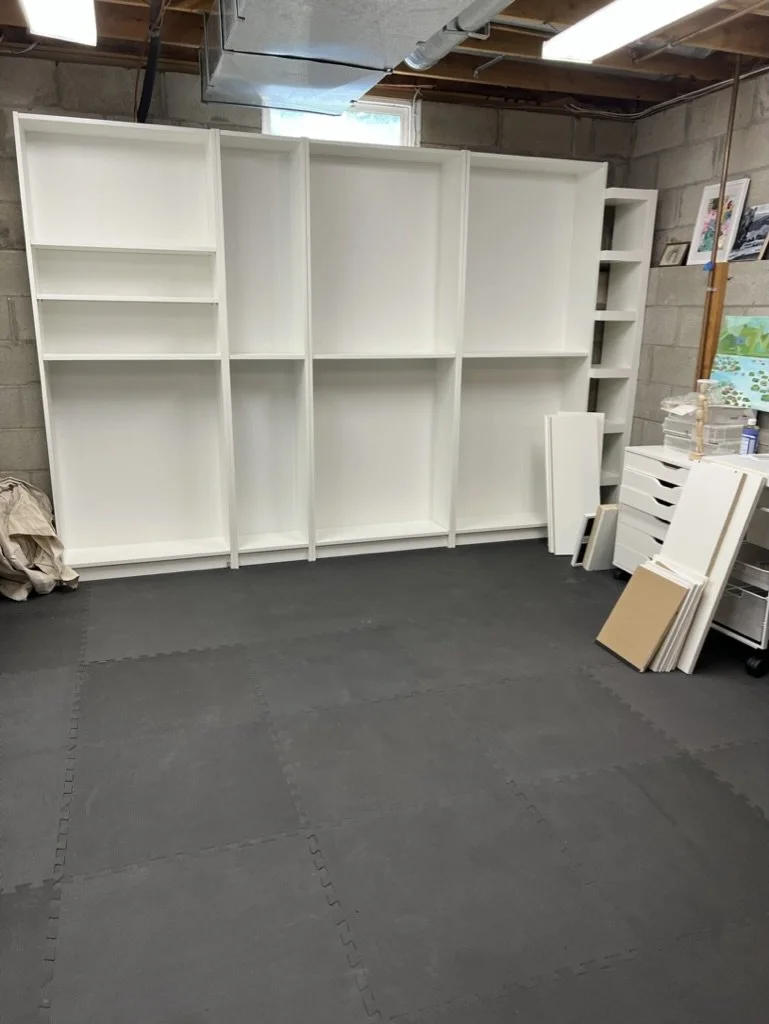
Next, I installed interlocking rubber floor tiles to cover the cold, hard concrete floors. Another game changer. Now, my feet stay warm, and I can stand and kneel on the floor without pain. These floor tiles were seriously easy to install too and they shipped super fast.
Walls:
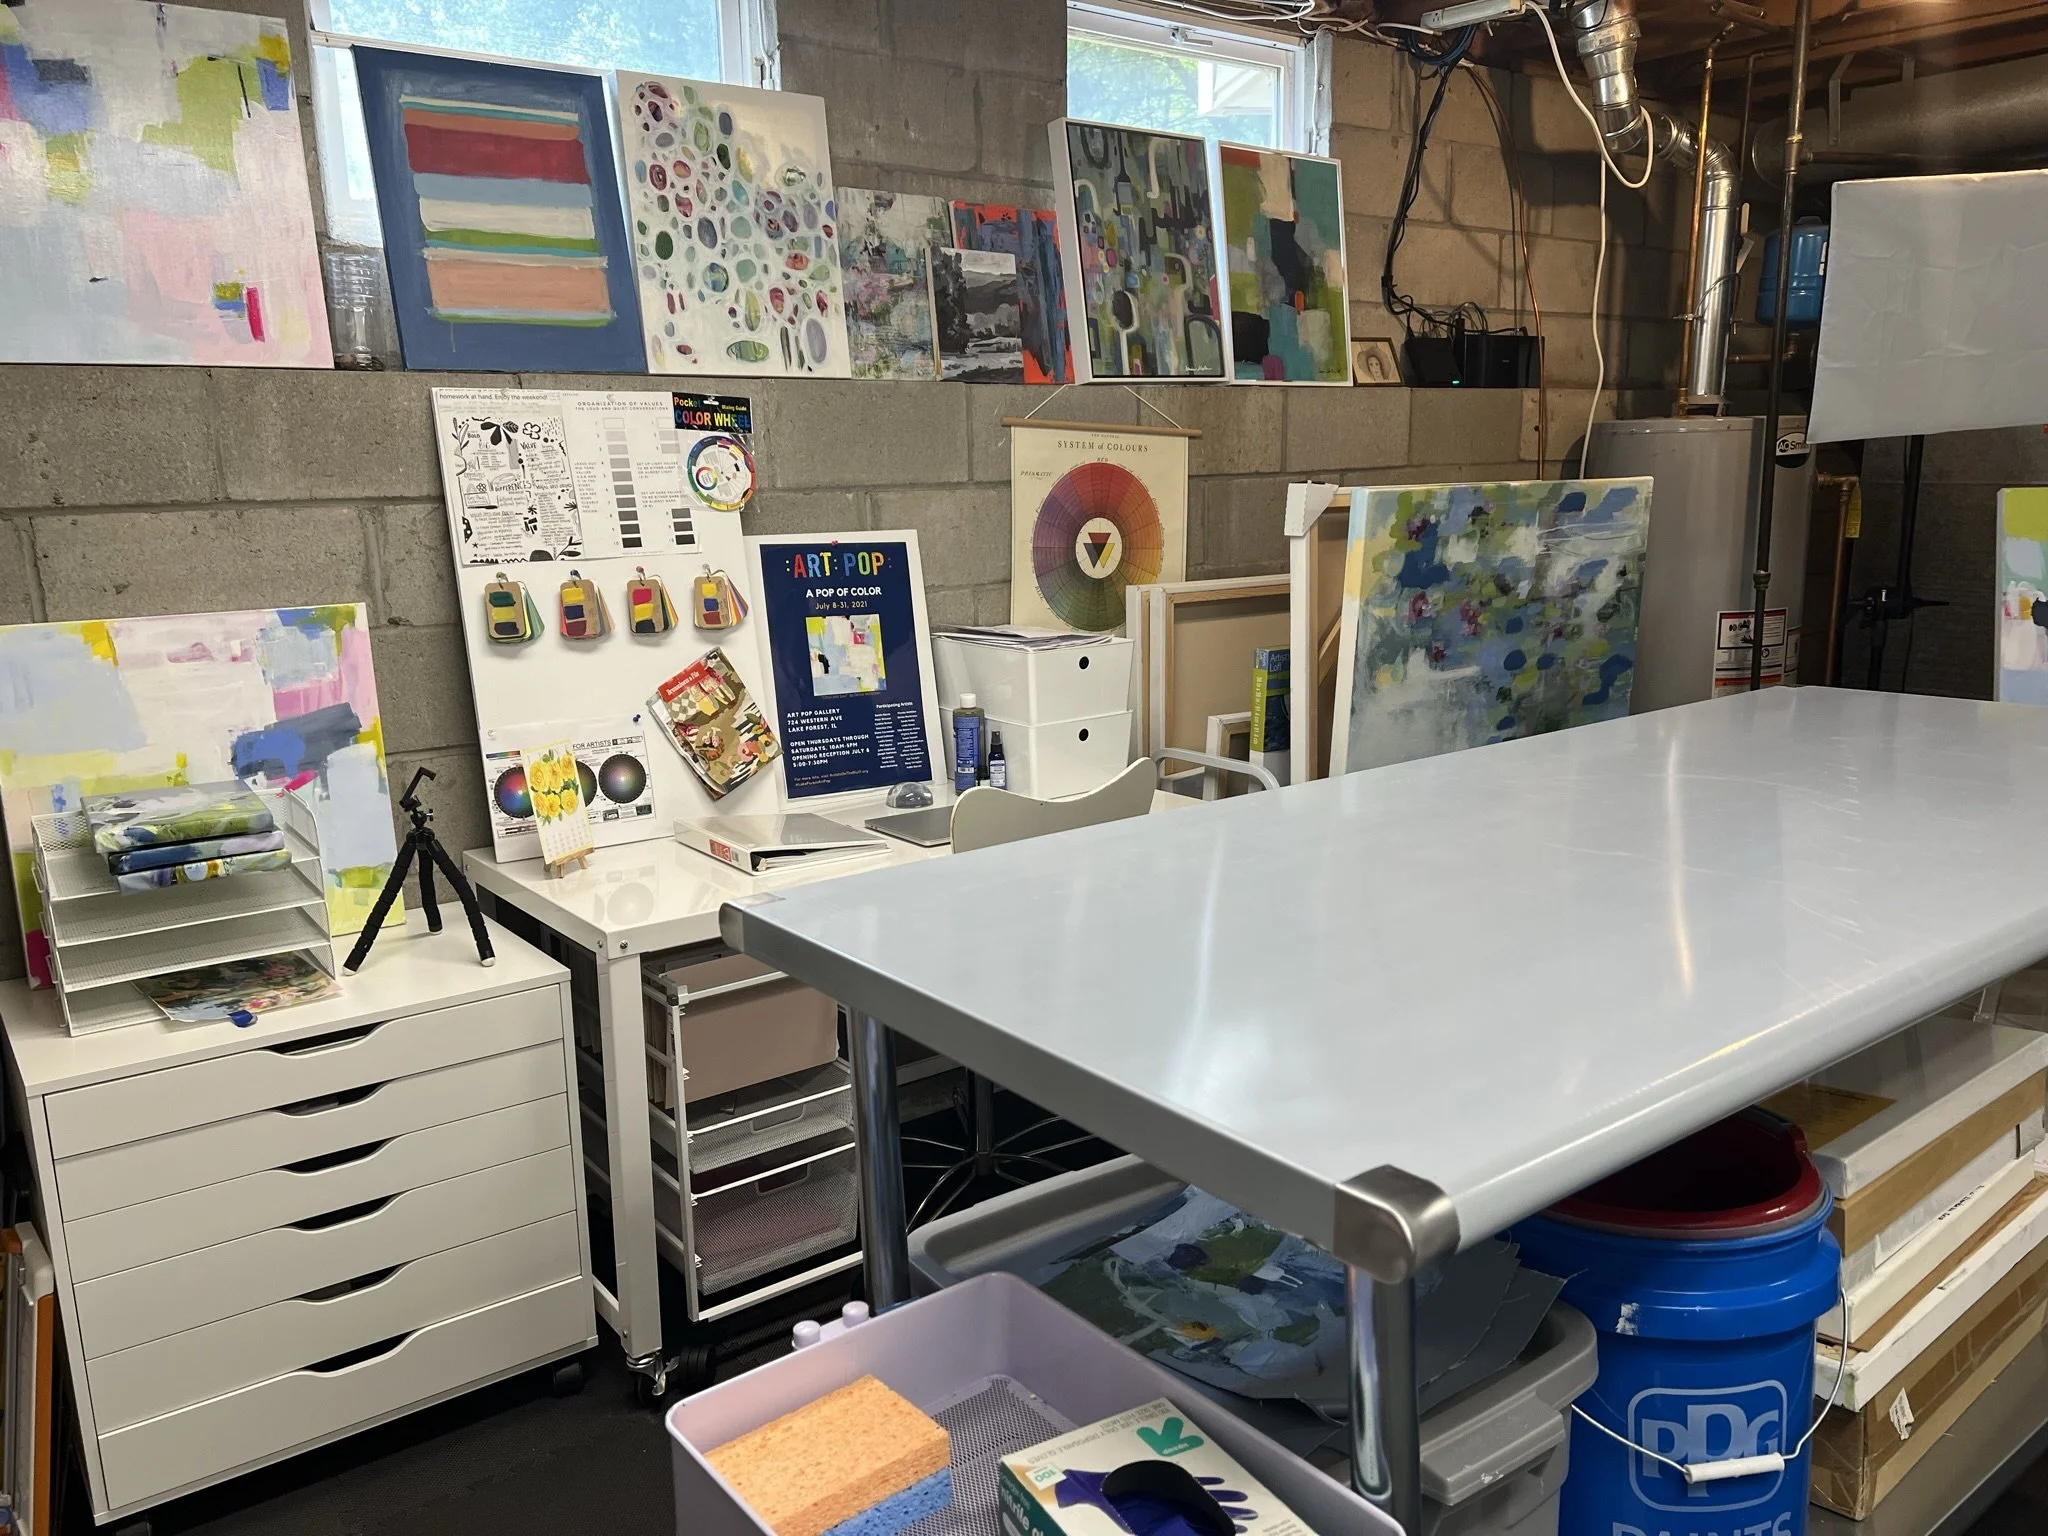
With a blank slate, I was able to envision how the new room would take shape. I decided against painting the walls, as it seemed a bit daunting and I had so many questions about painting concrete. I’m ok with it, as one wall is dry-walled, another is concrete covered by shelving, and the third wall is concrete, mostly covered with art. Also, I wanted a painting wall for hanging canvases, so I drilled screws into the dry wall, using a laser level to keep things even. I kept a small section for hanging some of my favorite pieces as inspiration (and they make a great background for Zoom calls). During this stage, I also hired an exterminator and sold my old shelves on Facebook Marketplace.
Installing screws in studs to create a painting wall “grid” for hanging canvases.
Shelving:
I sat down with a calculator to figure out placement and sizing of shelves, settling on the Billy Shelving system from IKEA because of the flexibility of shelf sizes. Thankfully, I had them delivered straight into the basement, because there was no way in hell I could carry those beasts down the stairs by myself. Despite being fairly easy to assemble, it took a full day, as I needed to build five units. But I powered through and with some help from my son, I was able to stand them up and inch them together. Voila-my floor plan suddenly began to take shape!
Storage:
Once the floor was installed and the shelves were constructed, I sorted through and laid out all of my supplies by sub-category on the floor. The categories included: paints, paintbrushes, pens, pencils, mark-making tools, varnishes/finishing products, paint buckets, towels, paper supplies, books, etc. I strongly suggest doing this too with whatever supplies you have. Sorting by your specific category will help you visualize how much shelf space each material will need. I calculated the number of bins I’d need, then, with list in hand, I took a trip to the Holy Grail of home organizing—The Container Store—where I found just the right sized bins for my supplies. I went home very happy that day. Target was also a fantastic place to find cheap bins that fit the Billy bookcases.

Sorting through materials and grouping them according to function, need and accessibility
I sorted items into bins according to their sub-category and then began placing them on the shelves, keeping “like” items together: Pens/pencils/markers close to paintbrushes, which are close to palette knives, paper towels, water buckets, which are close to varnish/finishing products…you get the idea.

Organizing shelves by grouping “like” items together and allowing easy accessibility.
Now all of my materials and tools are within arm’s reach in clear bins so I can see what’s inside. Framing and picture hanging supplies are sorted and easy to find in divided trays.
One fun and very functional addition was a rolling cart for storing canvases. This piece was such a great little find. It keeps your canvases upright, off the floor, and safely spaced. I love that I can roll about 15 canvases around the room if I need to-it’s awesome!

This rolling canvas storage cart has been a great addition to my studio. Canvases are kept off the floor and I can easily move multiple canvases around the room.
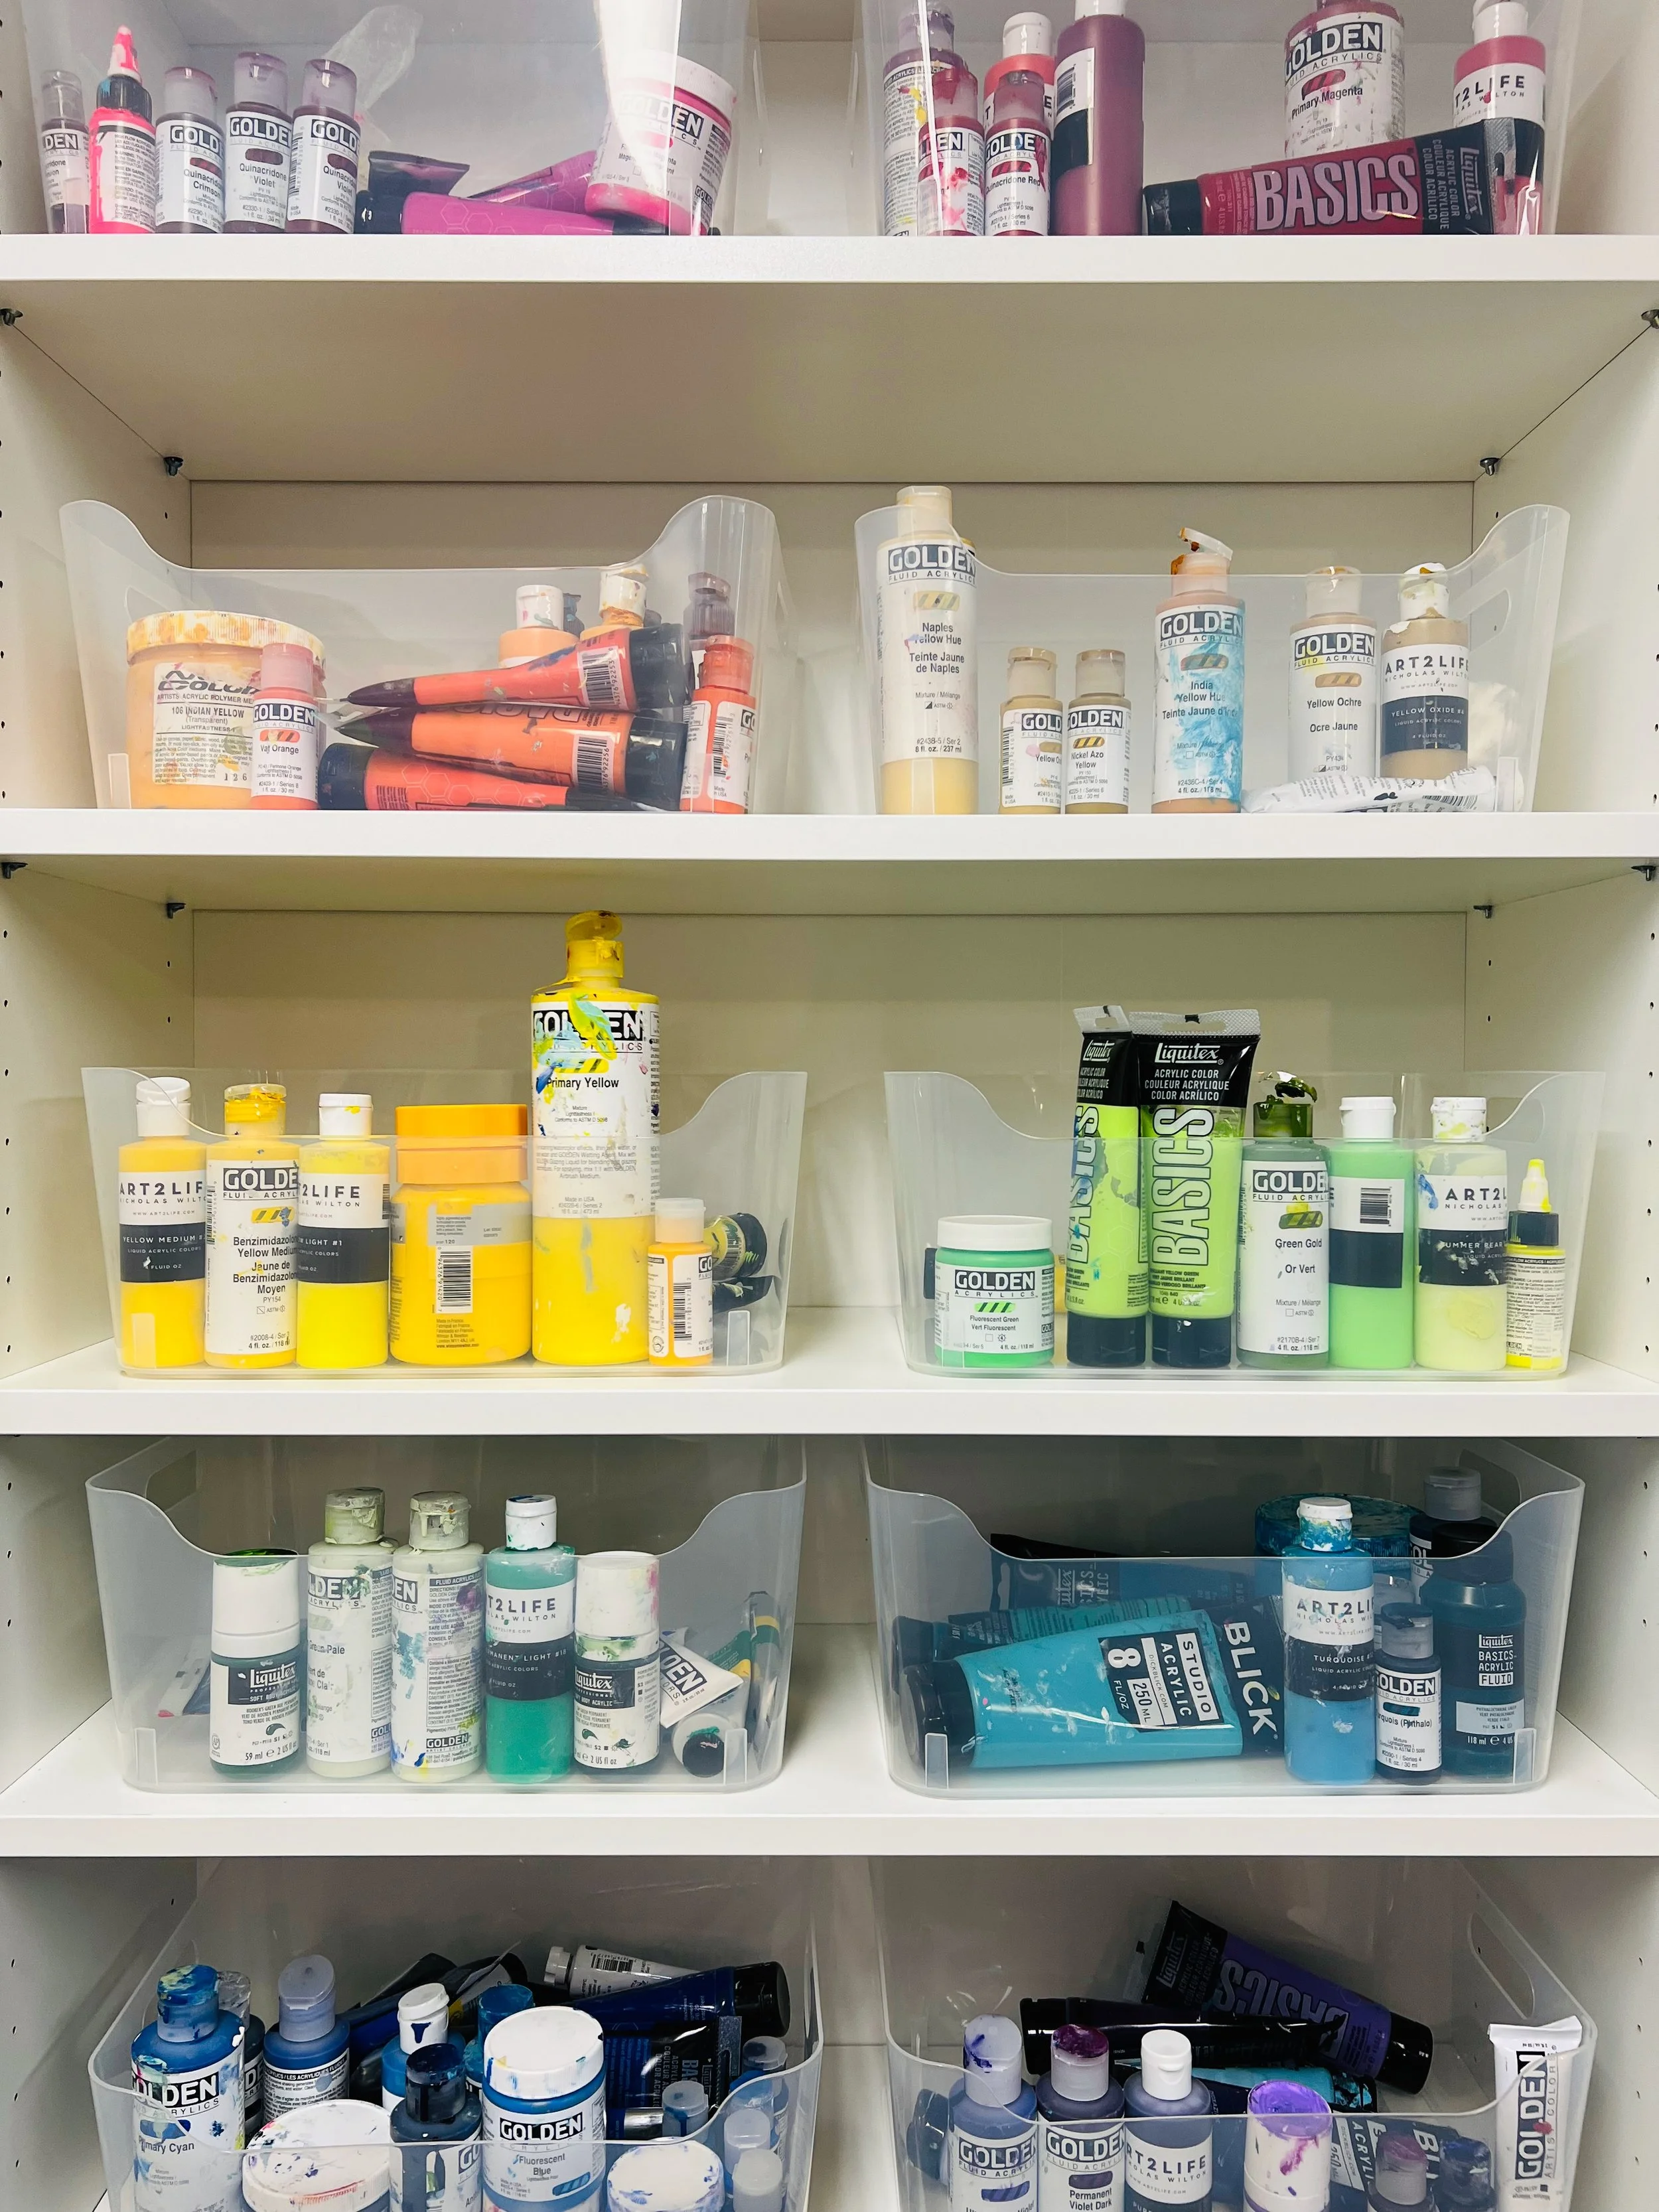
For my paints, I wanted to be able to see the full range of colors-and display them artfully. The clear bins and ROYGBIV placement on the shelves make the full rainbow of colors like a little art installation right in my studio!
Work Surface:
The table I settled on is a commercial stainless steel table on casters. It’s very heavy, but rolls quite easily. The extra shelf adds another excellent option for storing larger items like bins and canvases. Consider adding casters to an existing table or purchasing a table on wheels-you won’t regret it.
Packing/Shipping:
While I haven’t set up a dedicated space for this yet, I have all of my packing/shipping supplies neatly organized in a drawer and a fold-out table handy for packing up paintings. It’s nice to know exactly where the packing tape is (and not have to dig through five moving boxes to find it).
Desk/Office:
I absolutely love my CB2 rolling desk that I found on Facebook Marketplace. It fits the space perfectly and provides a place for me to sit while Zooming, planning my calendar, filing records and paying my taxes. It’s also nice to have a separate space away from others who are working from home. My file system is the Elfa Rolling File from the Container Store. It’s hands-down the smallest, but mightiest little office on wheels and I can’t recommend it enough. I also bought and built an IKEA Alex drawer organizer, which has been really helpful for storing paper, cellophane envelopes, mailing supplies, and cards. My chair is vintage IKEA-not the most comfortable, but I love the design!
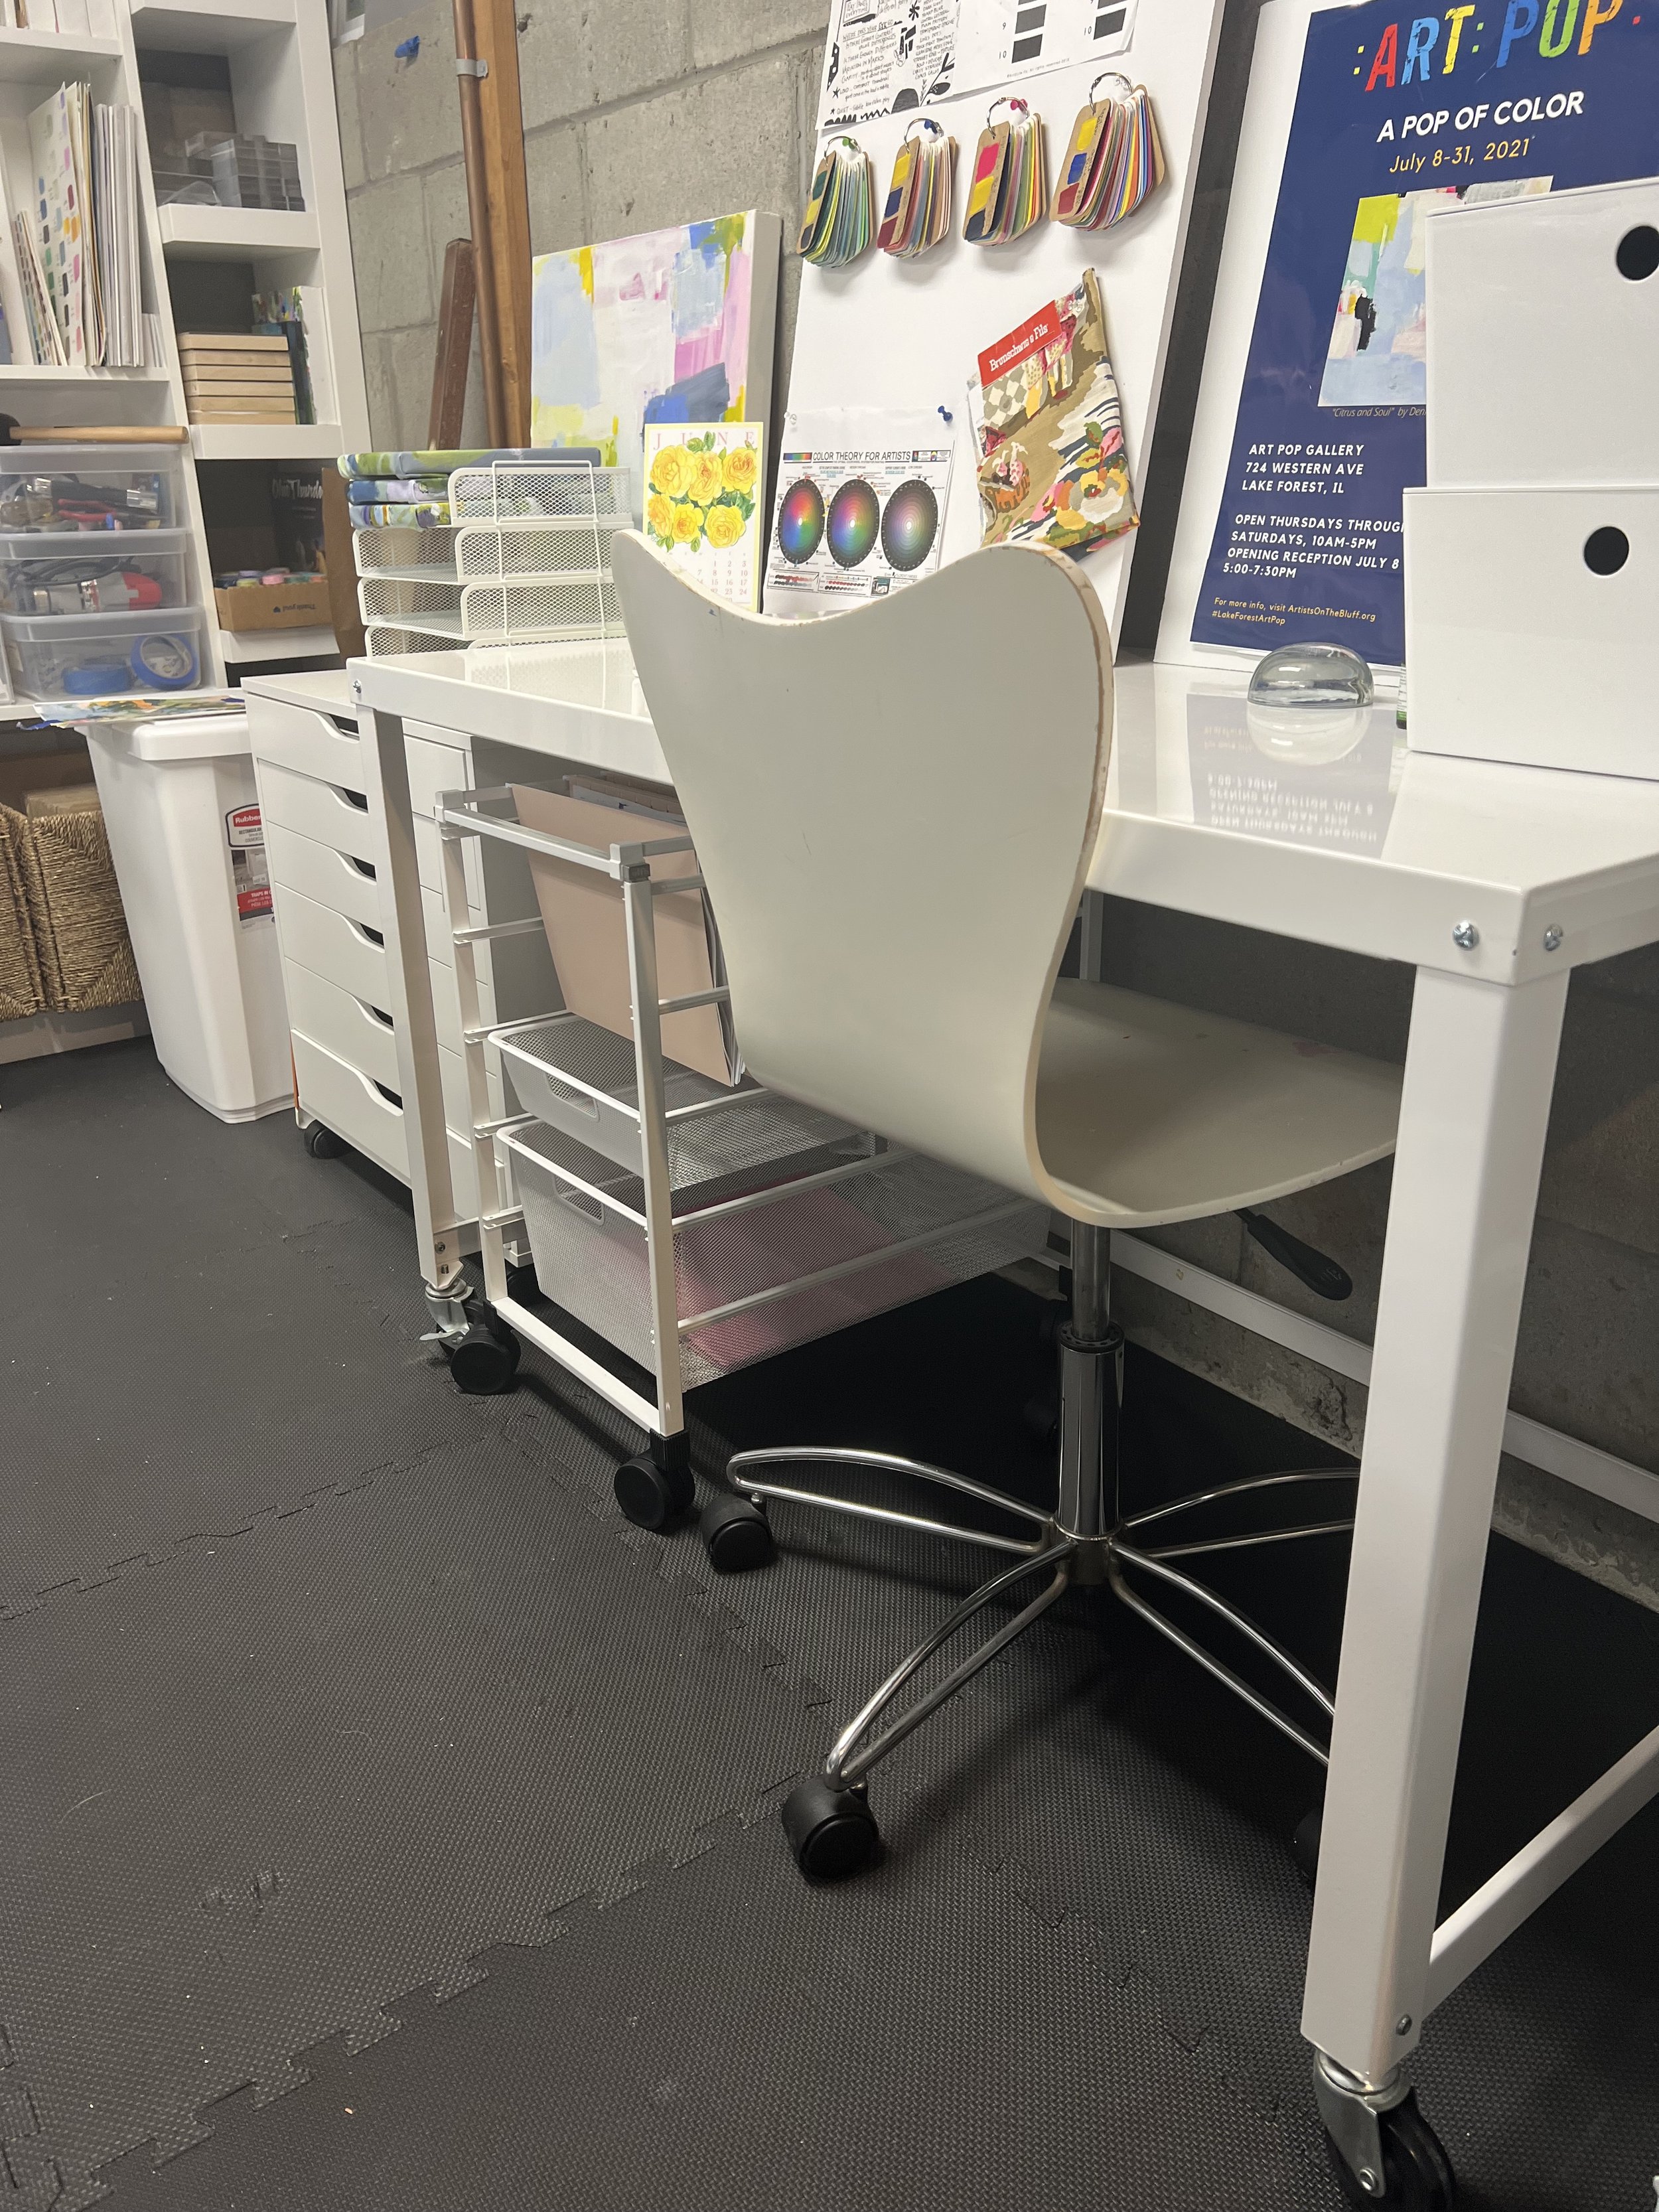
Moveable furniture was a must-have in my new space.
Whether your project is big or small, your budget may look very different than mine. In my case, I knew I might have to spend a little more because I needed to get my space up and running quickly. But if you have the luxury of time, you can search for discount sites and spread out your purchases over weeks, months. or even years.
My biggest suggestion for you is to start with a Big Picture Plan, then gradually work get down to the nitty gritty details. Use these ideas here as a loose outline for your project and have fun planning your perfect space.
Though the thought of clearing out and organizing your space might seem daunting, in the end, you’ll have a much more inviting, clutter-free, joyful space. My space is far from perfect (I’d love a sink with running water, space for an armchair, and more natural light), it is working for me now and it’s a HUGE improvement over what I had before. I’m just so happy to have a space of my own and that I can now focus on making beautiful art (without frozen feet and being surprised by centipedes and spiders!). Good luck, and let me know in the comments how you’re doing with YOUR studio makeover.
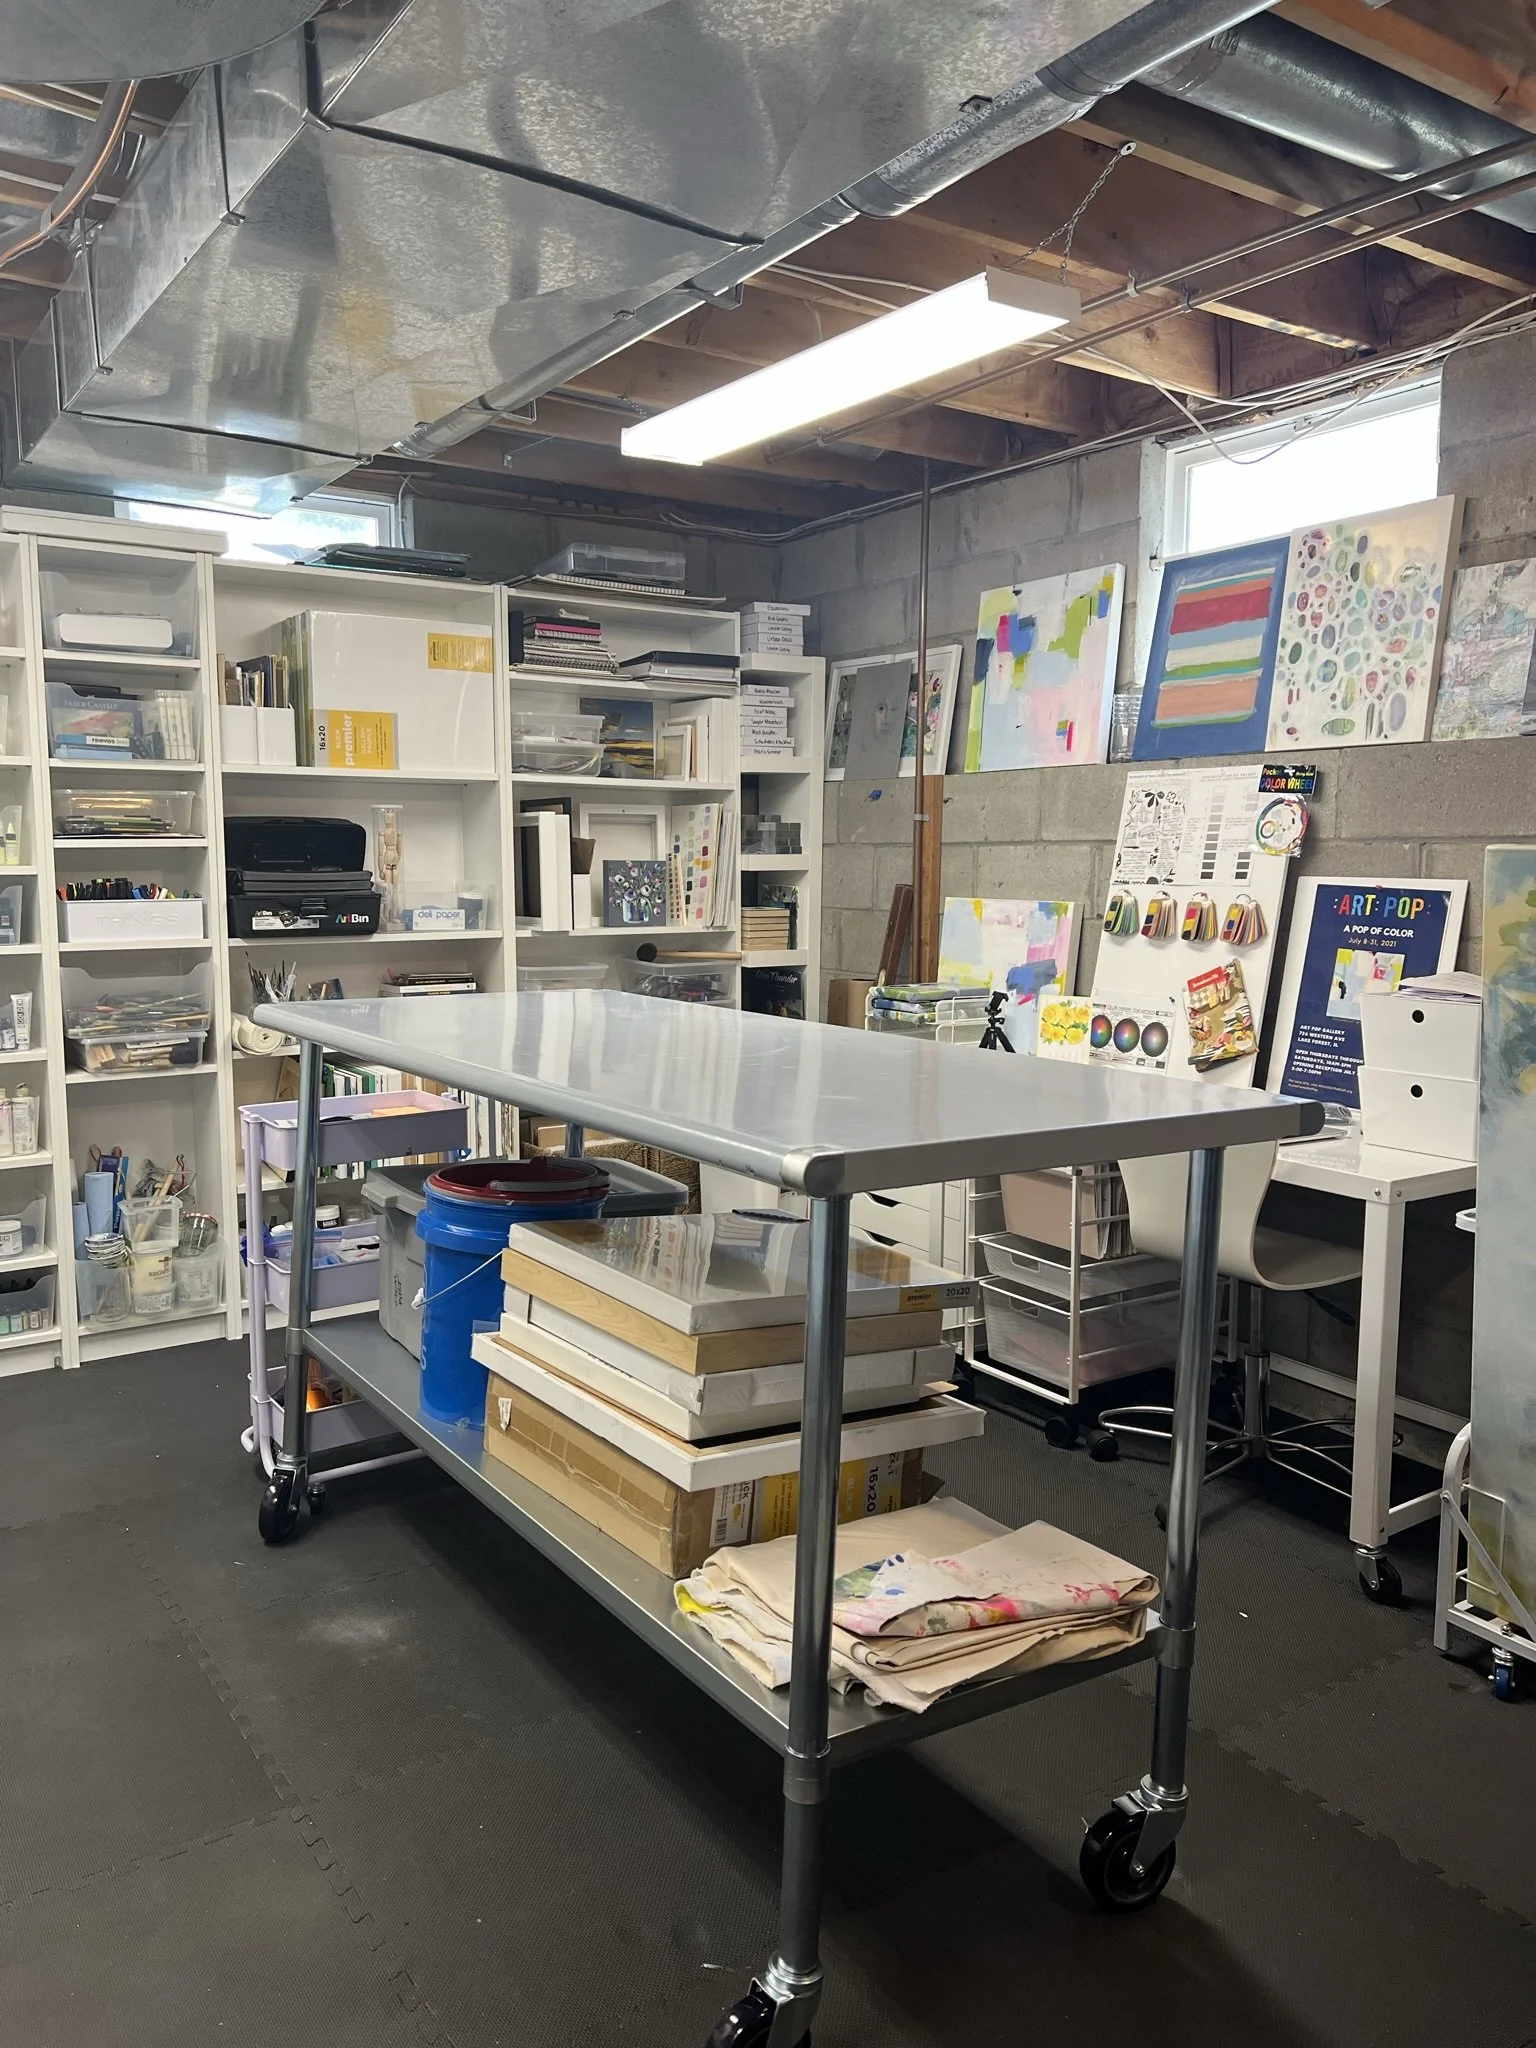
The commercial kitchen table on casters is another studio workhorse!

A painting wall along with a place for hanging finished art.
A functioning office, with file drawers and a desk.

A place for everything-and everything in its place!